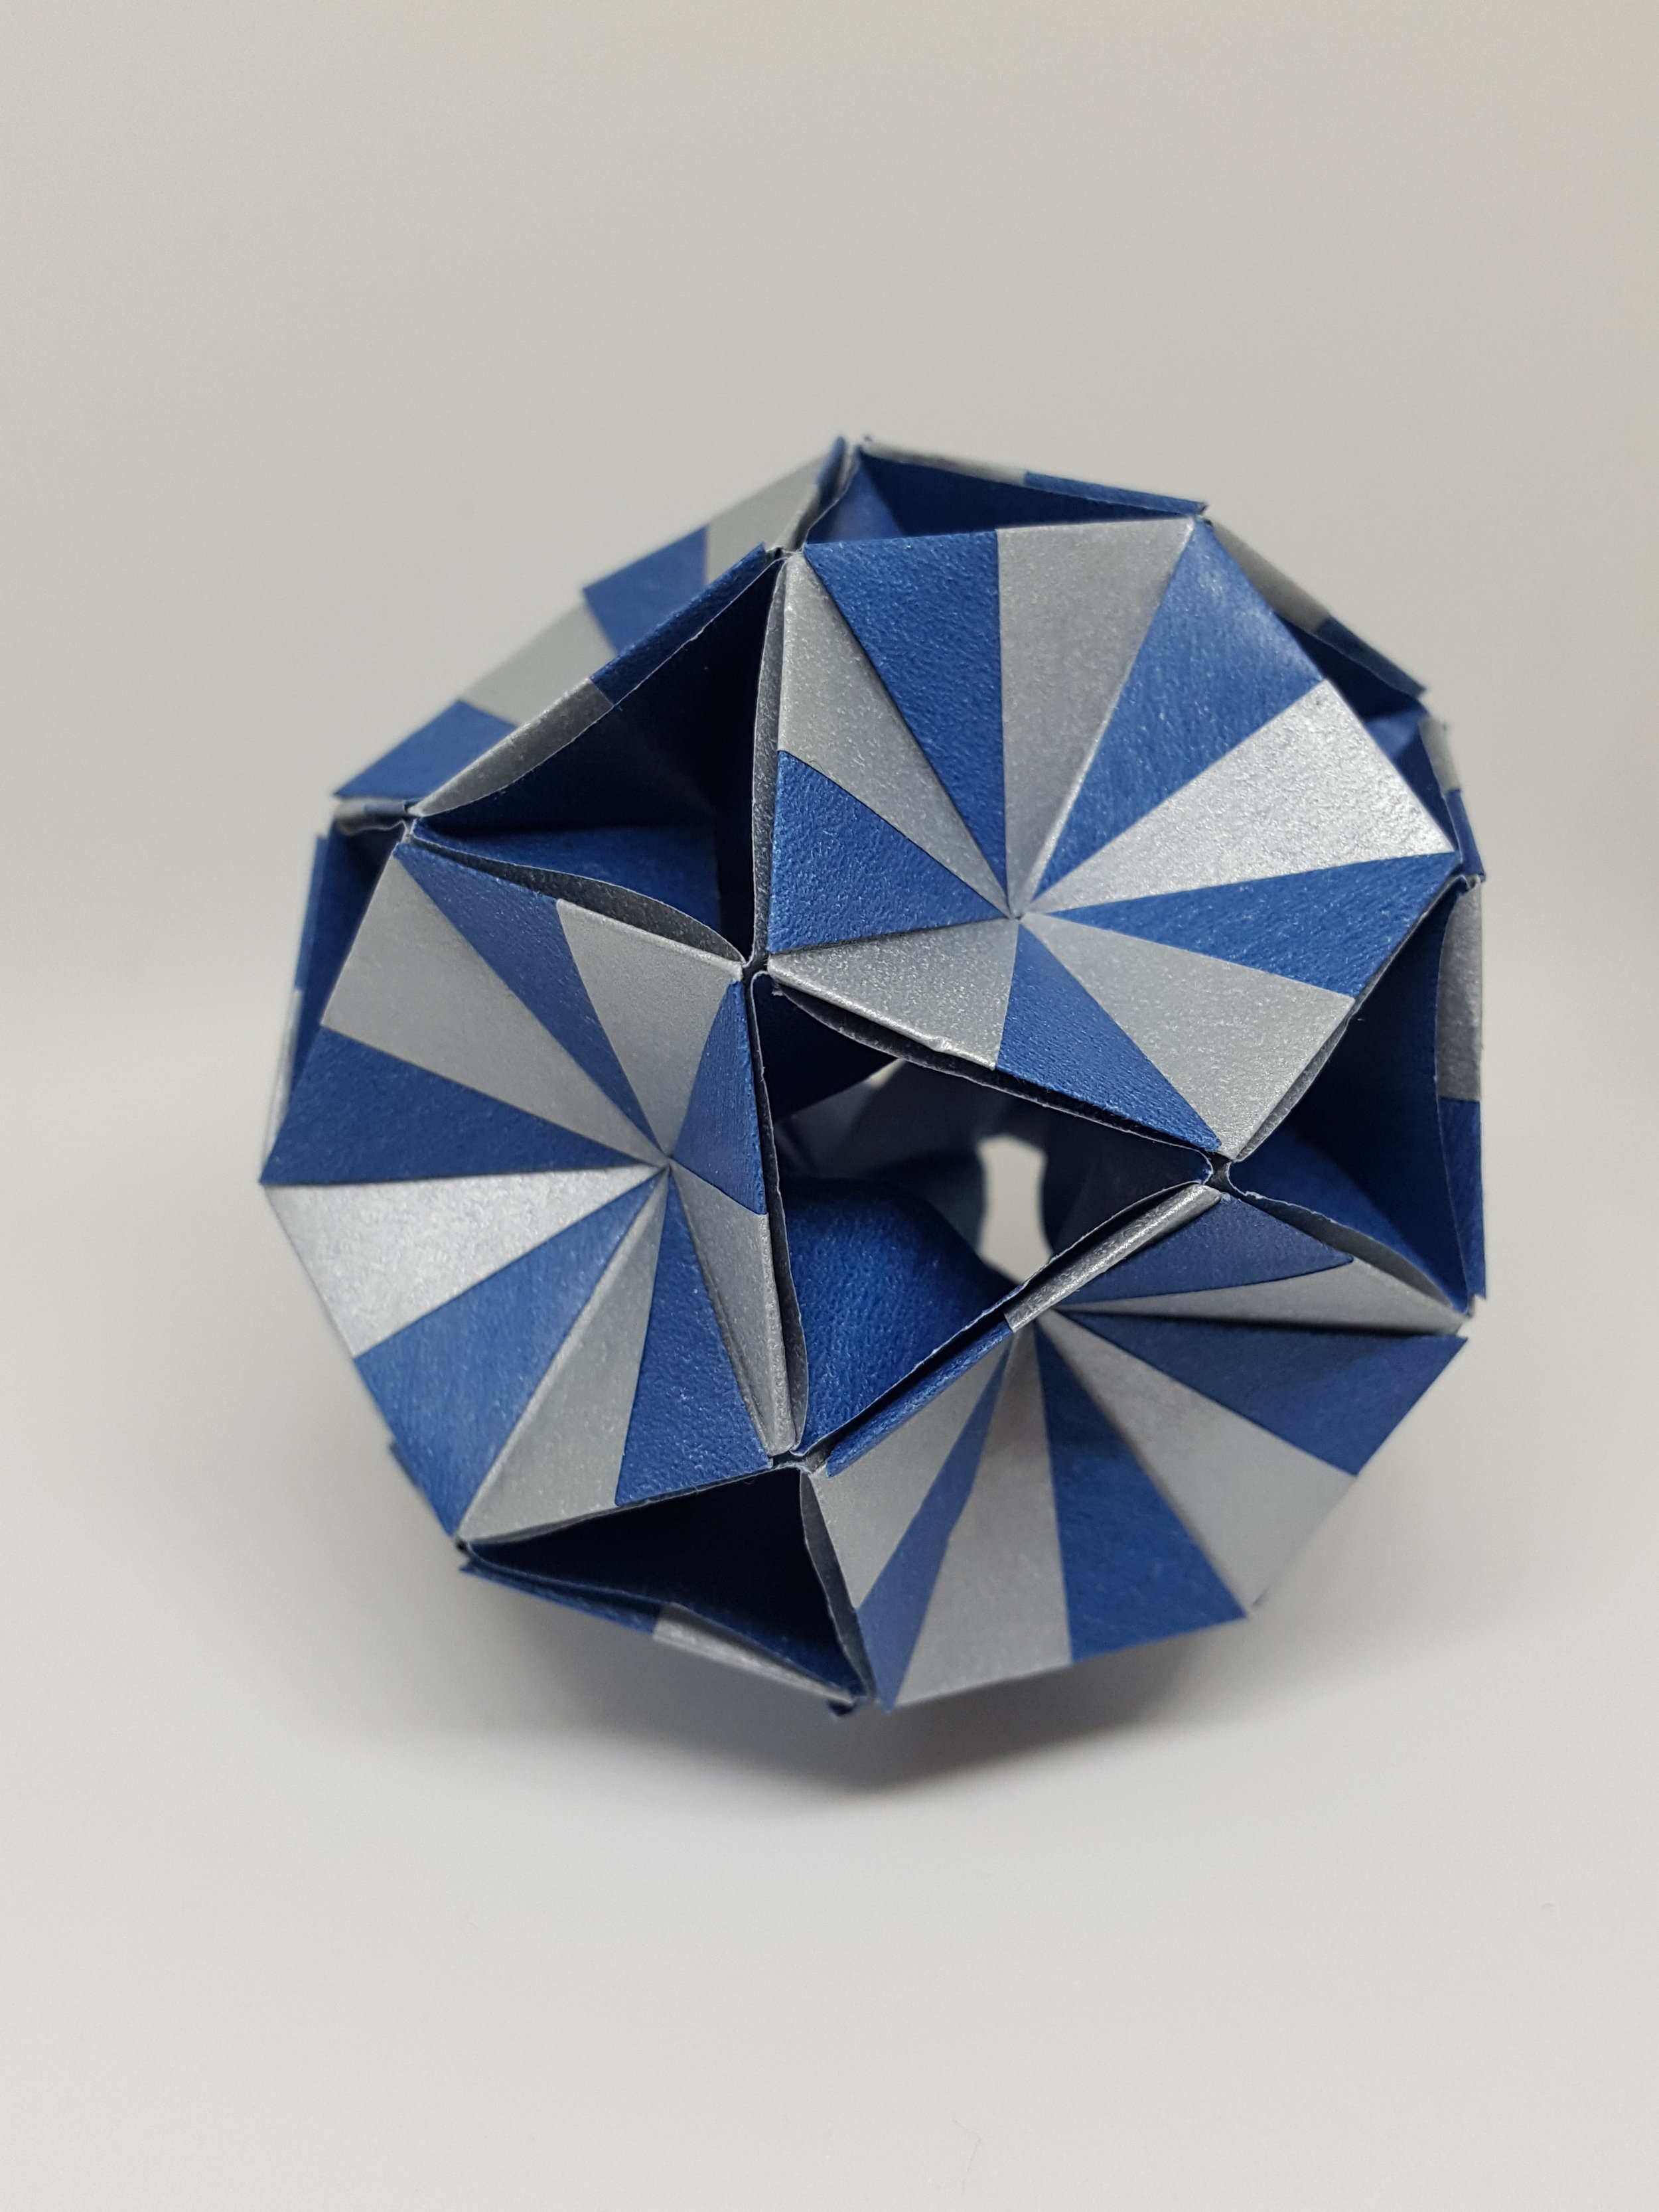
Carousel Tutorial
This model is only possible using 30 modules, but each one is fairly quick to make and the assembly process is straightforward. Low difficulty.
Step 1
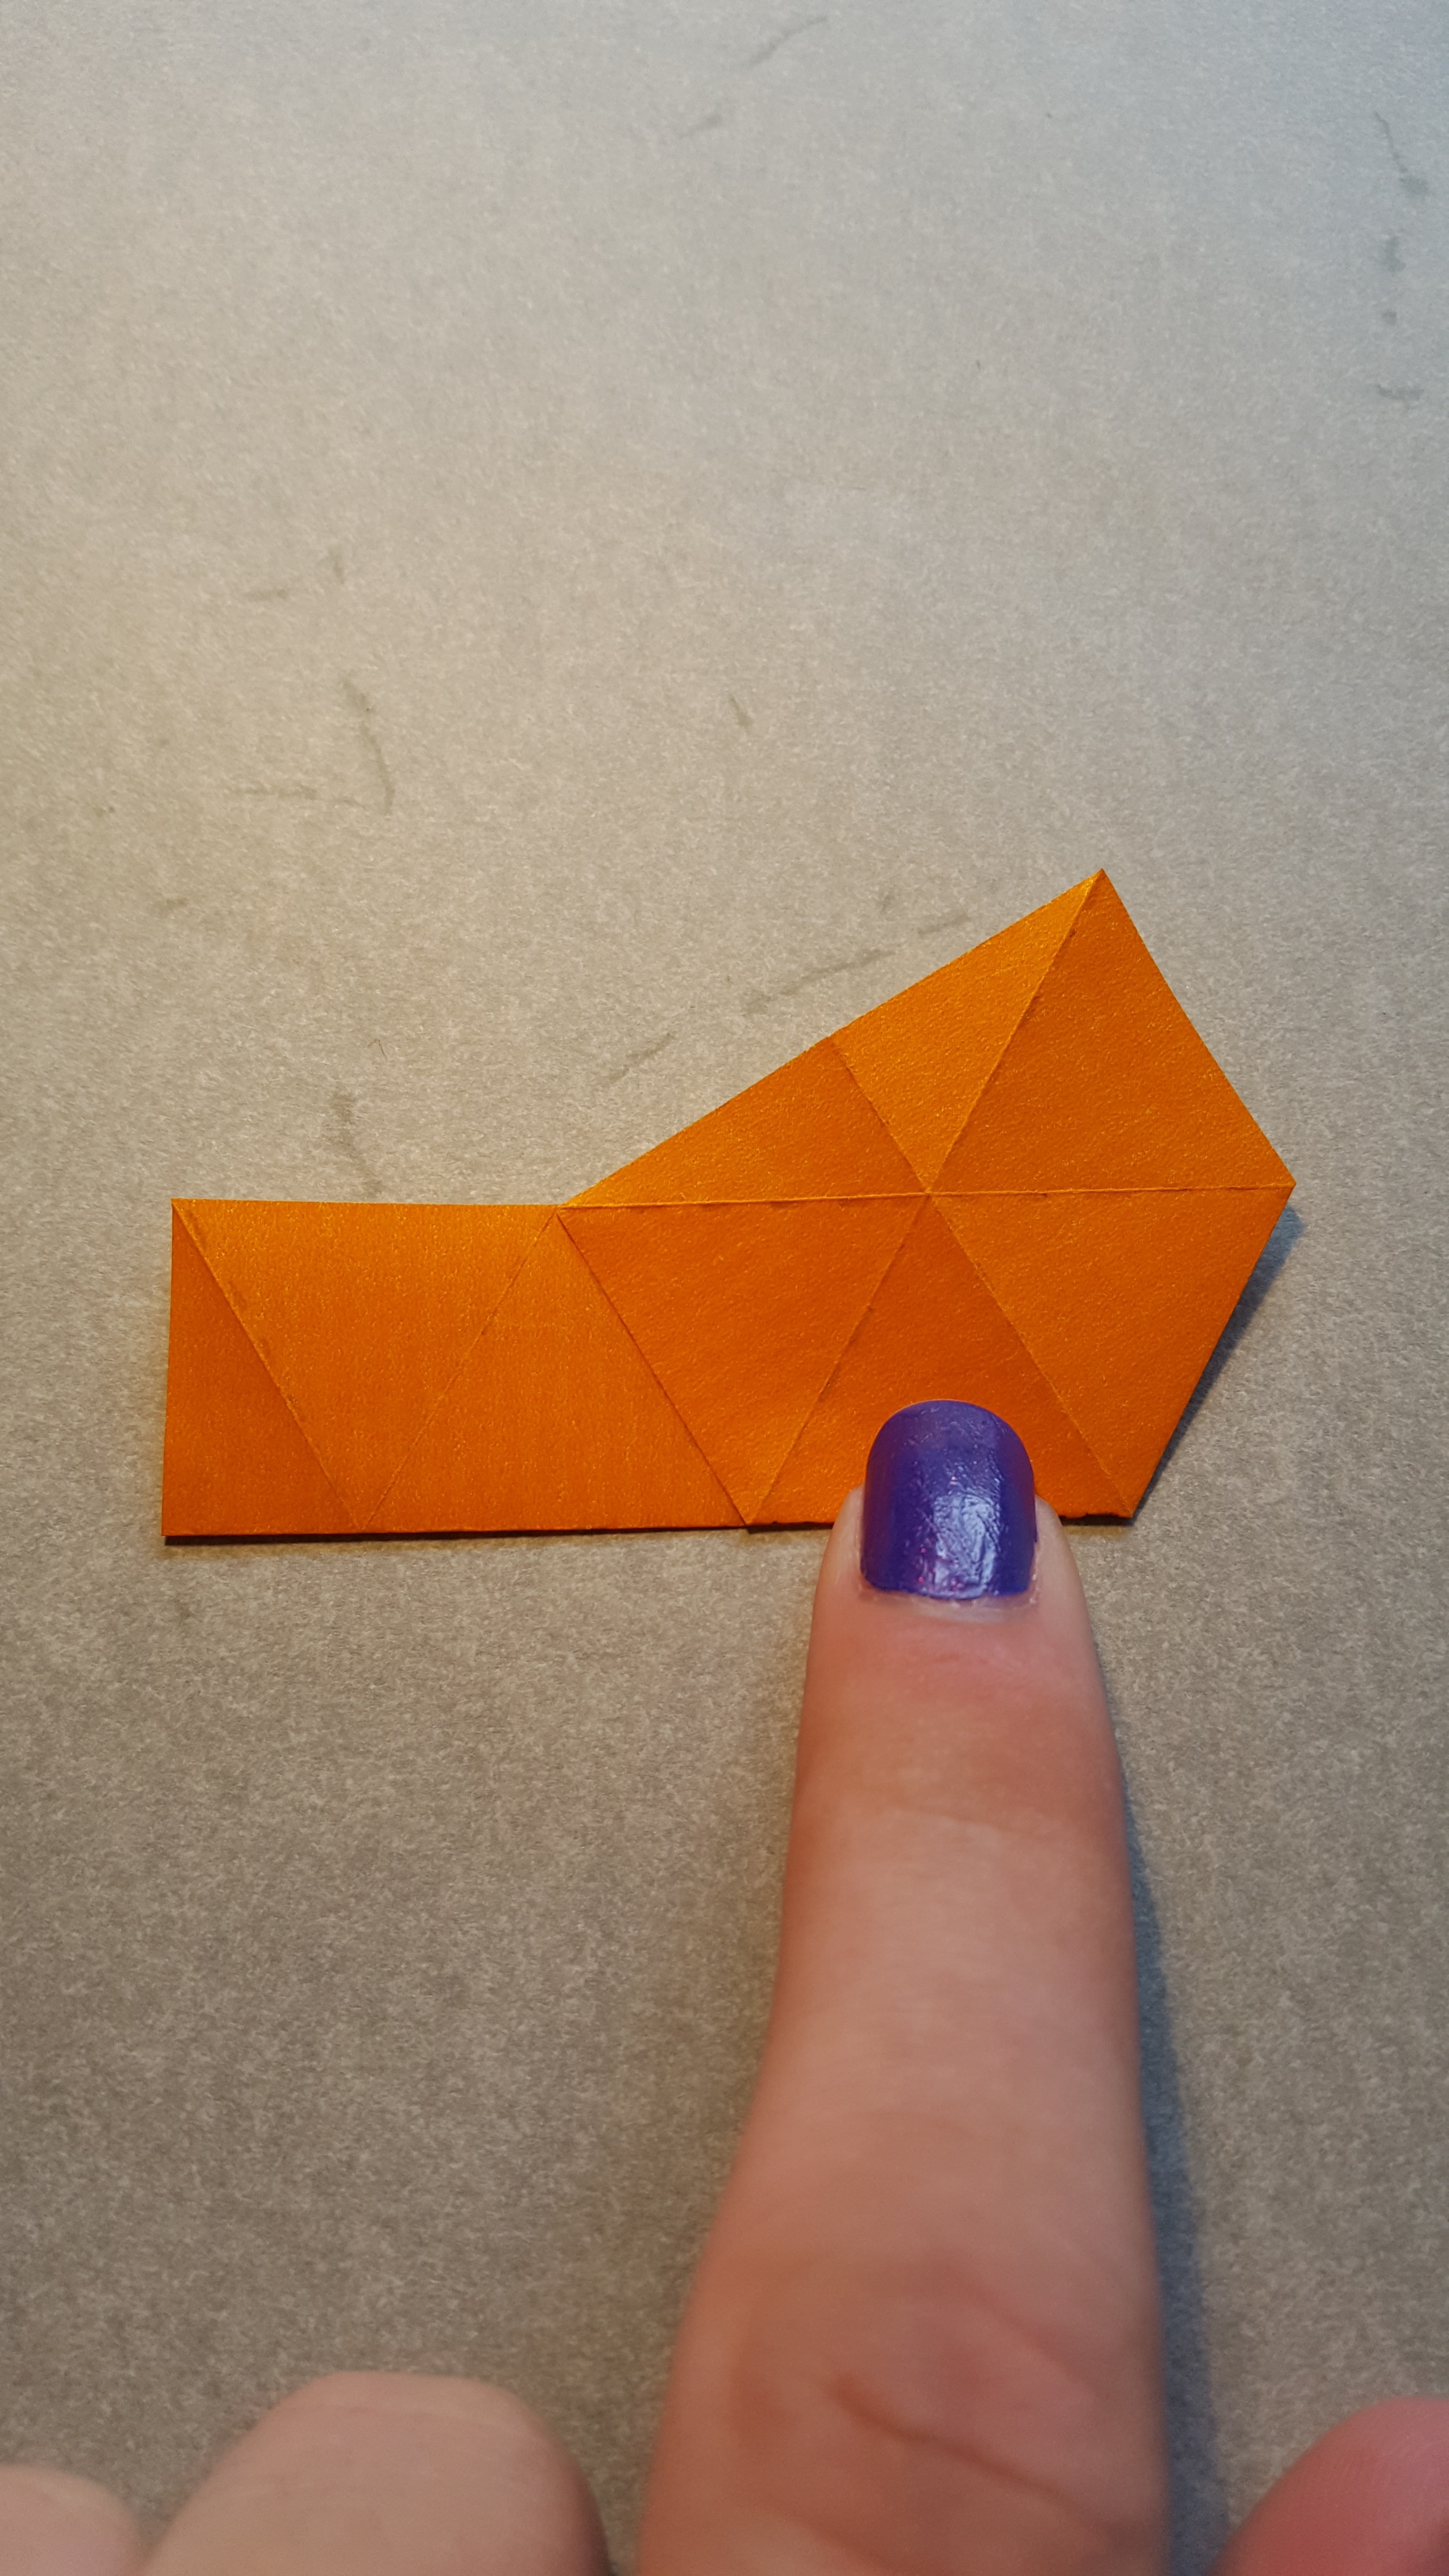
Start with a piece of paper in 4:√3 proportions.
Step 2
Fold and unfold length-ways.
Step 3
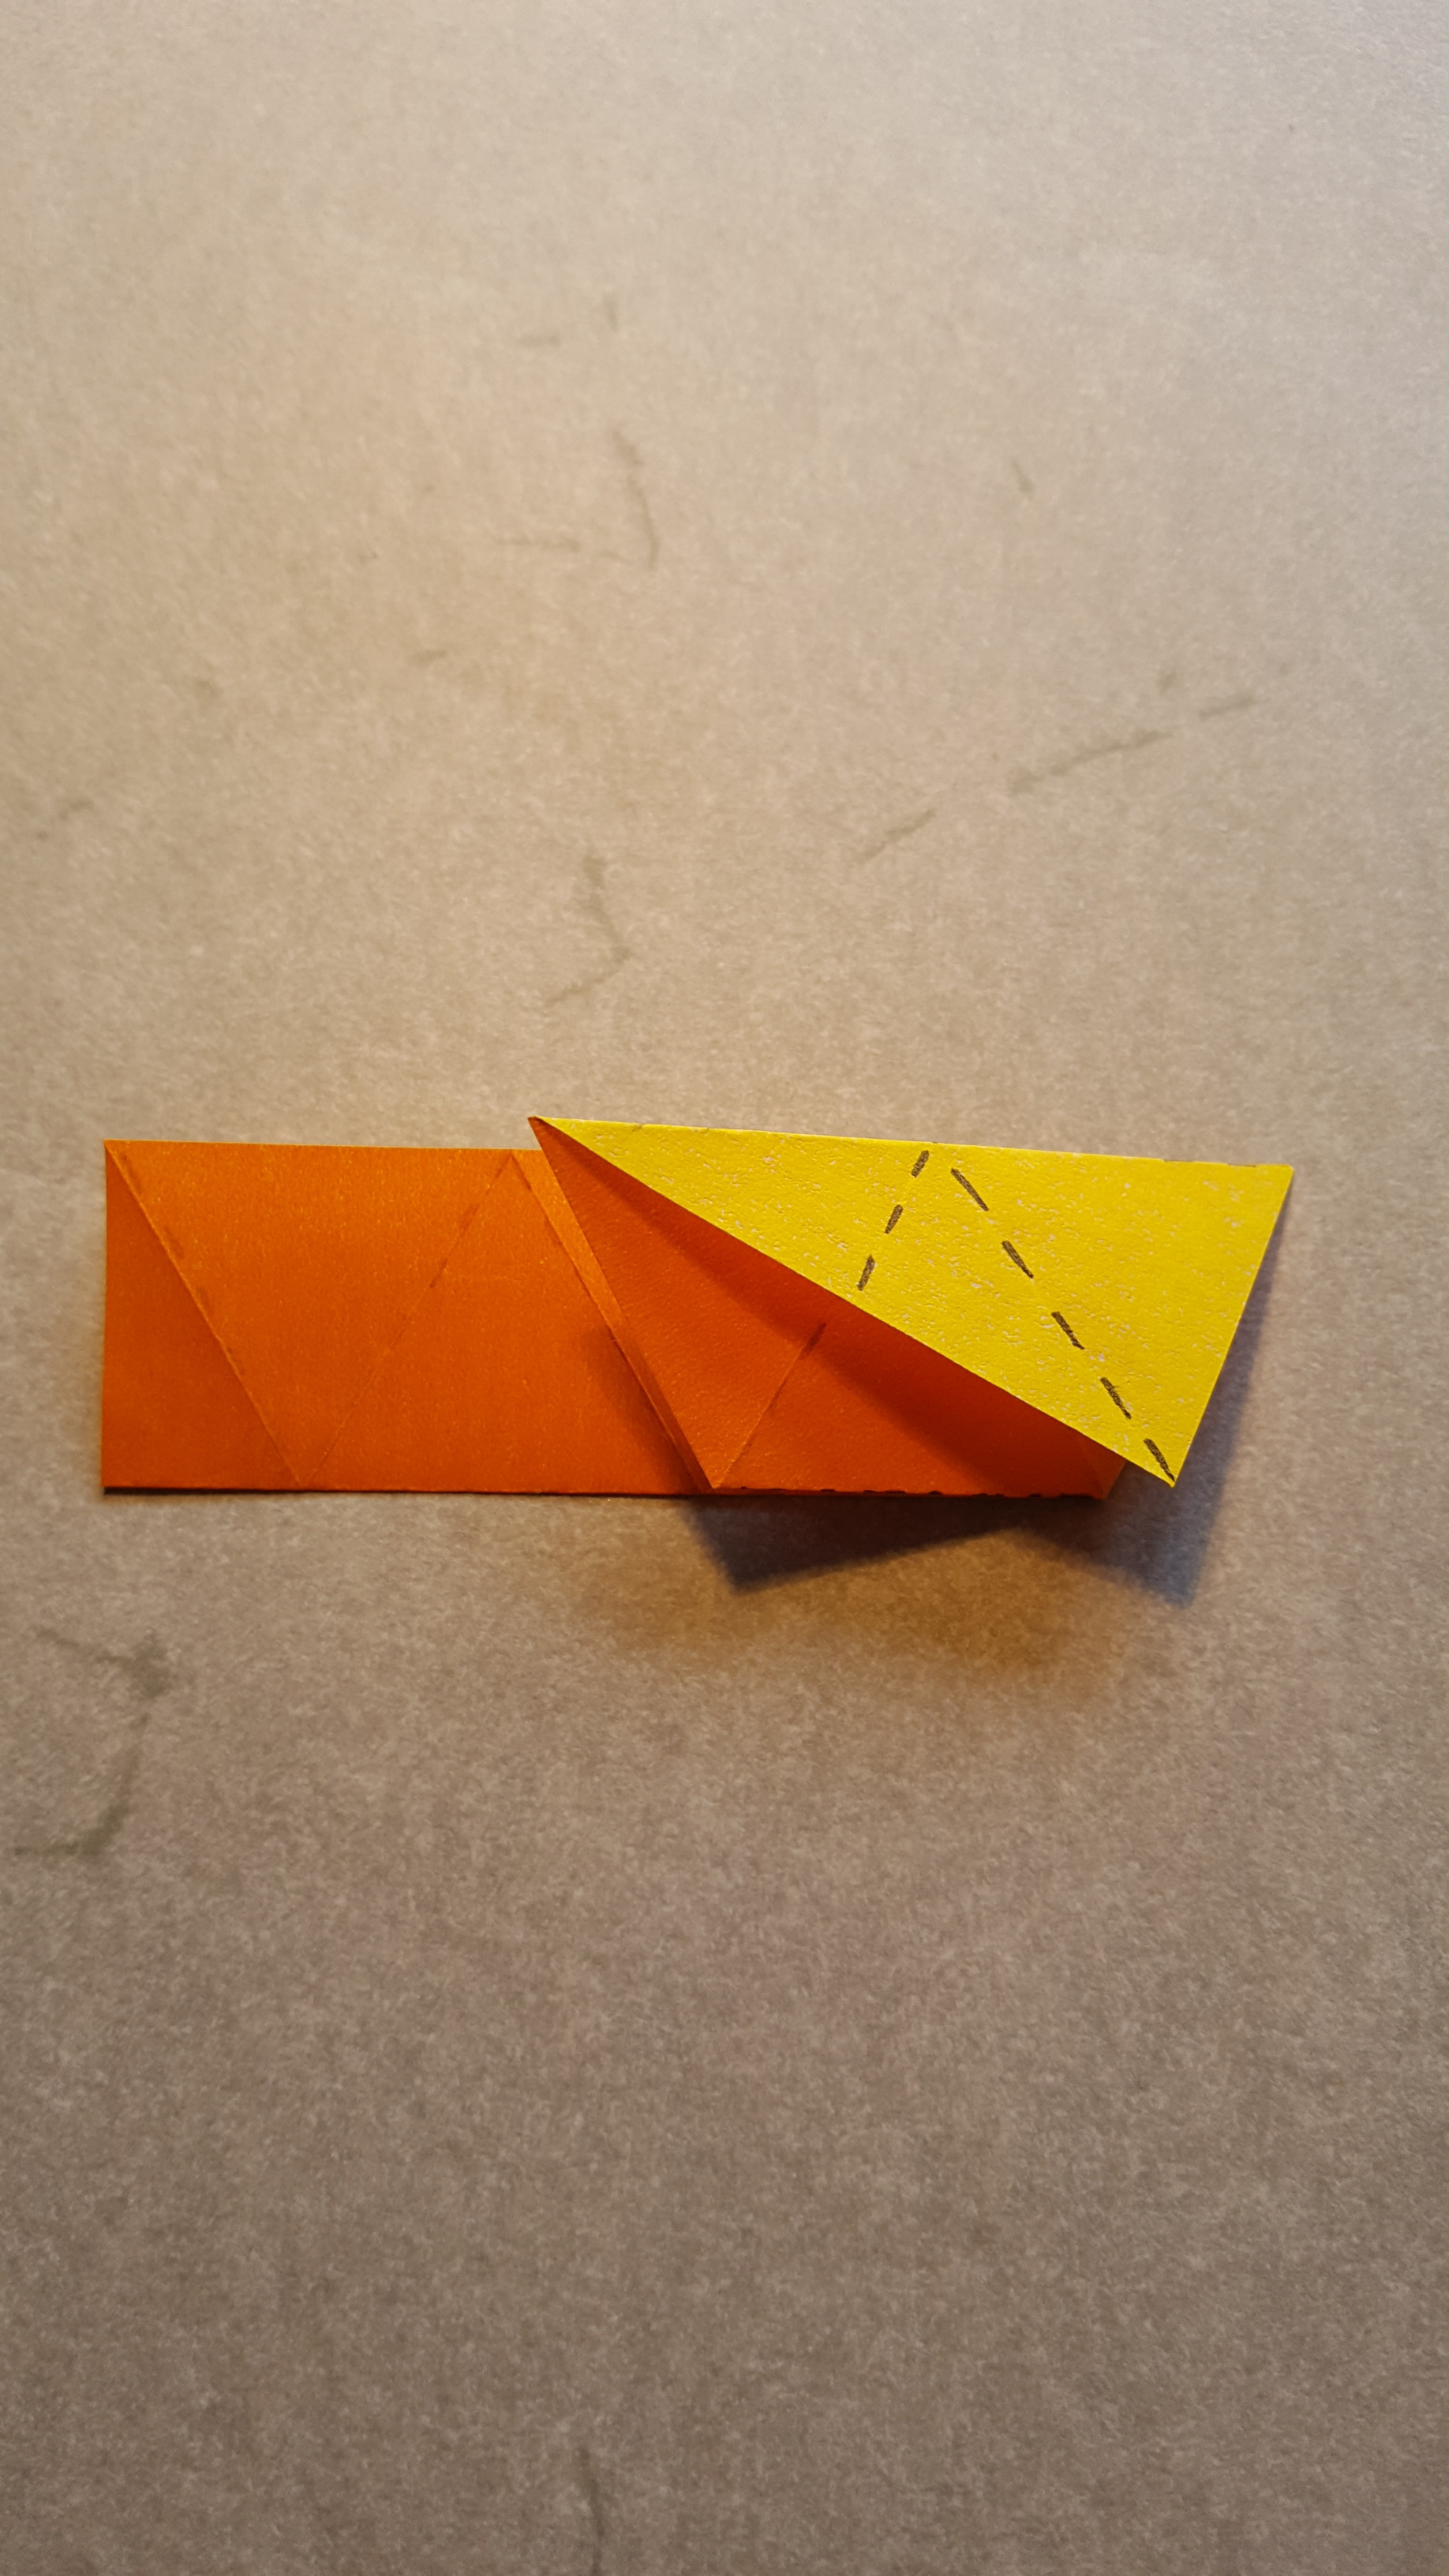
Fold the bottom right corner so that the fold passes trough the bottom left corner and the right corner lies on the centre line. Repeat this at the top of the paper.
Step 4
Fold the bottom right corner to the end of the top fold as shown.
Step 5
Undo the last step.
Step 6
Fold the top left corner to meet the end of the bottom crease.
Step 7
Unfold the paper.
Step 8
Repeat the previous steps in a mirror image or use the lines already formed to create the creases shown.
Step 9
Refold the middle line and rotate the paper so the opening is at the top.
Step 10
Next reverse the fold next to the center while letting the neighbouring crease be a mountain fold.
Step 11
The fold in progress
Step 12
Flatten the paper in its new position.
Step 13
Fold the top piece of paper down by reversing an existing crease
Step 14
Fold the paper up along the rightmost fold from earlier.
Step 15
Fold the top piece of paper down again.
Step 16
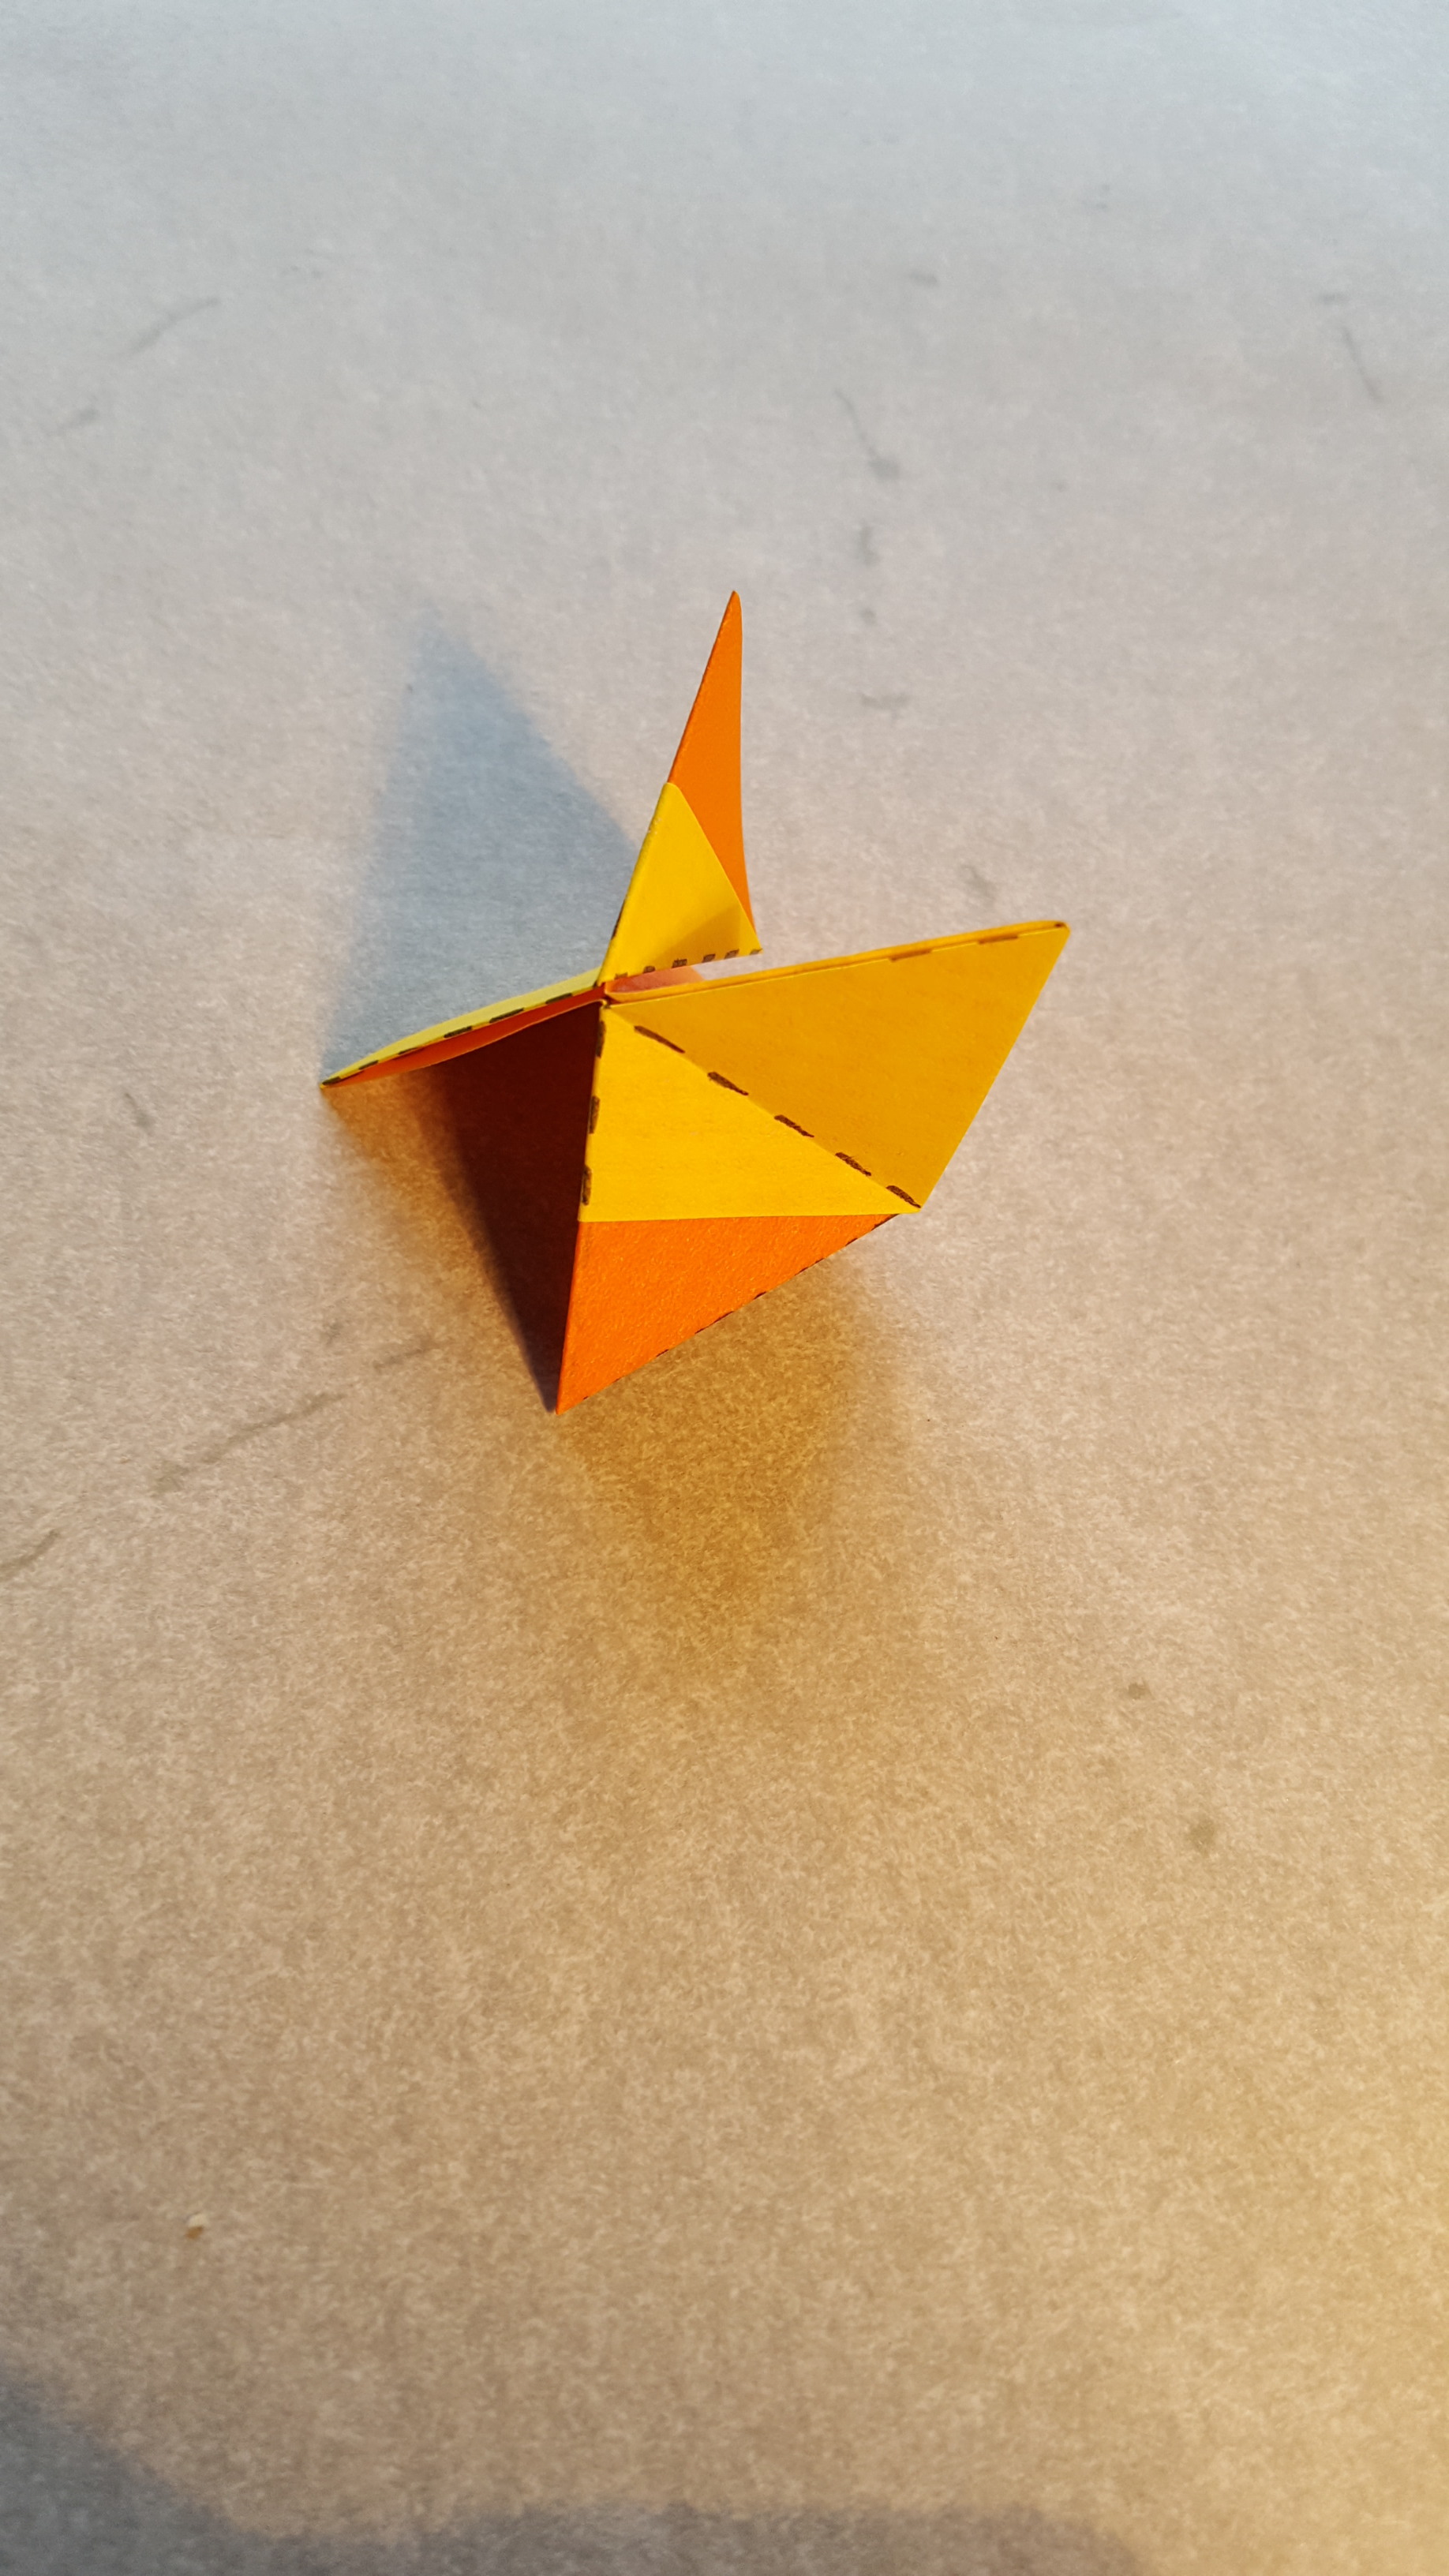
Repeat steps 10-15 on the other side. Fold the resulting arms back and forward to shape the module.
This is how you connect the units. Five units form a ring in this method and two neighboring units have a third unit touching both which forms the holes in the model. It is a good model to assemble with mini clothes pegs as there are good places for them, however they shouldn't be necessary if you are careful. Good luck!


