StarBlossom TUtorial
This star design is fairly simple to fold and uses one uncut hexagon.

Step 1
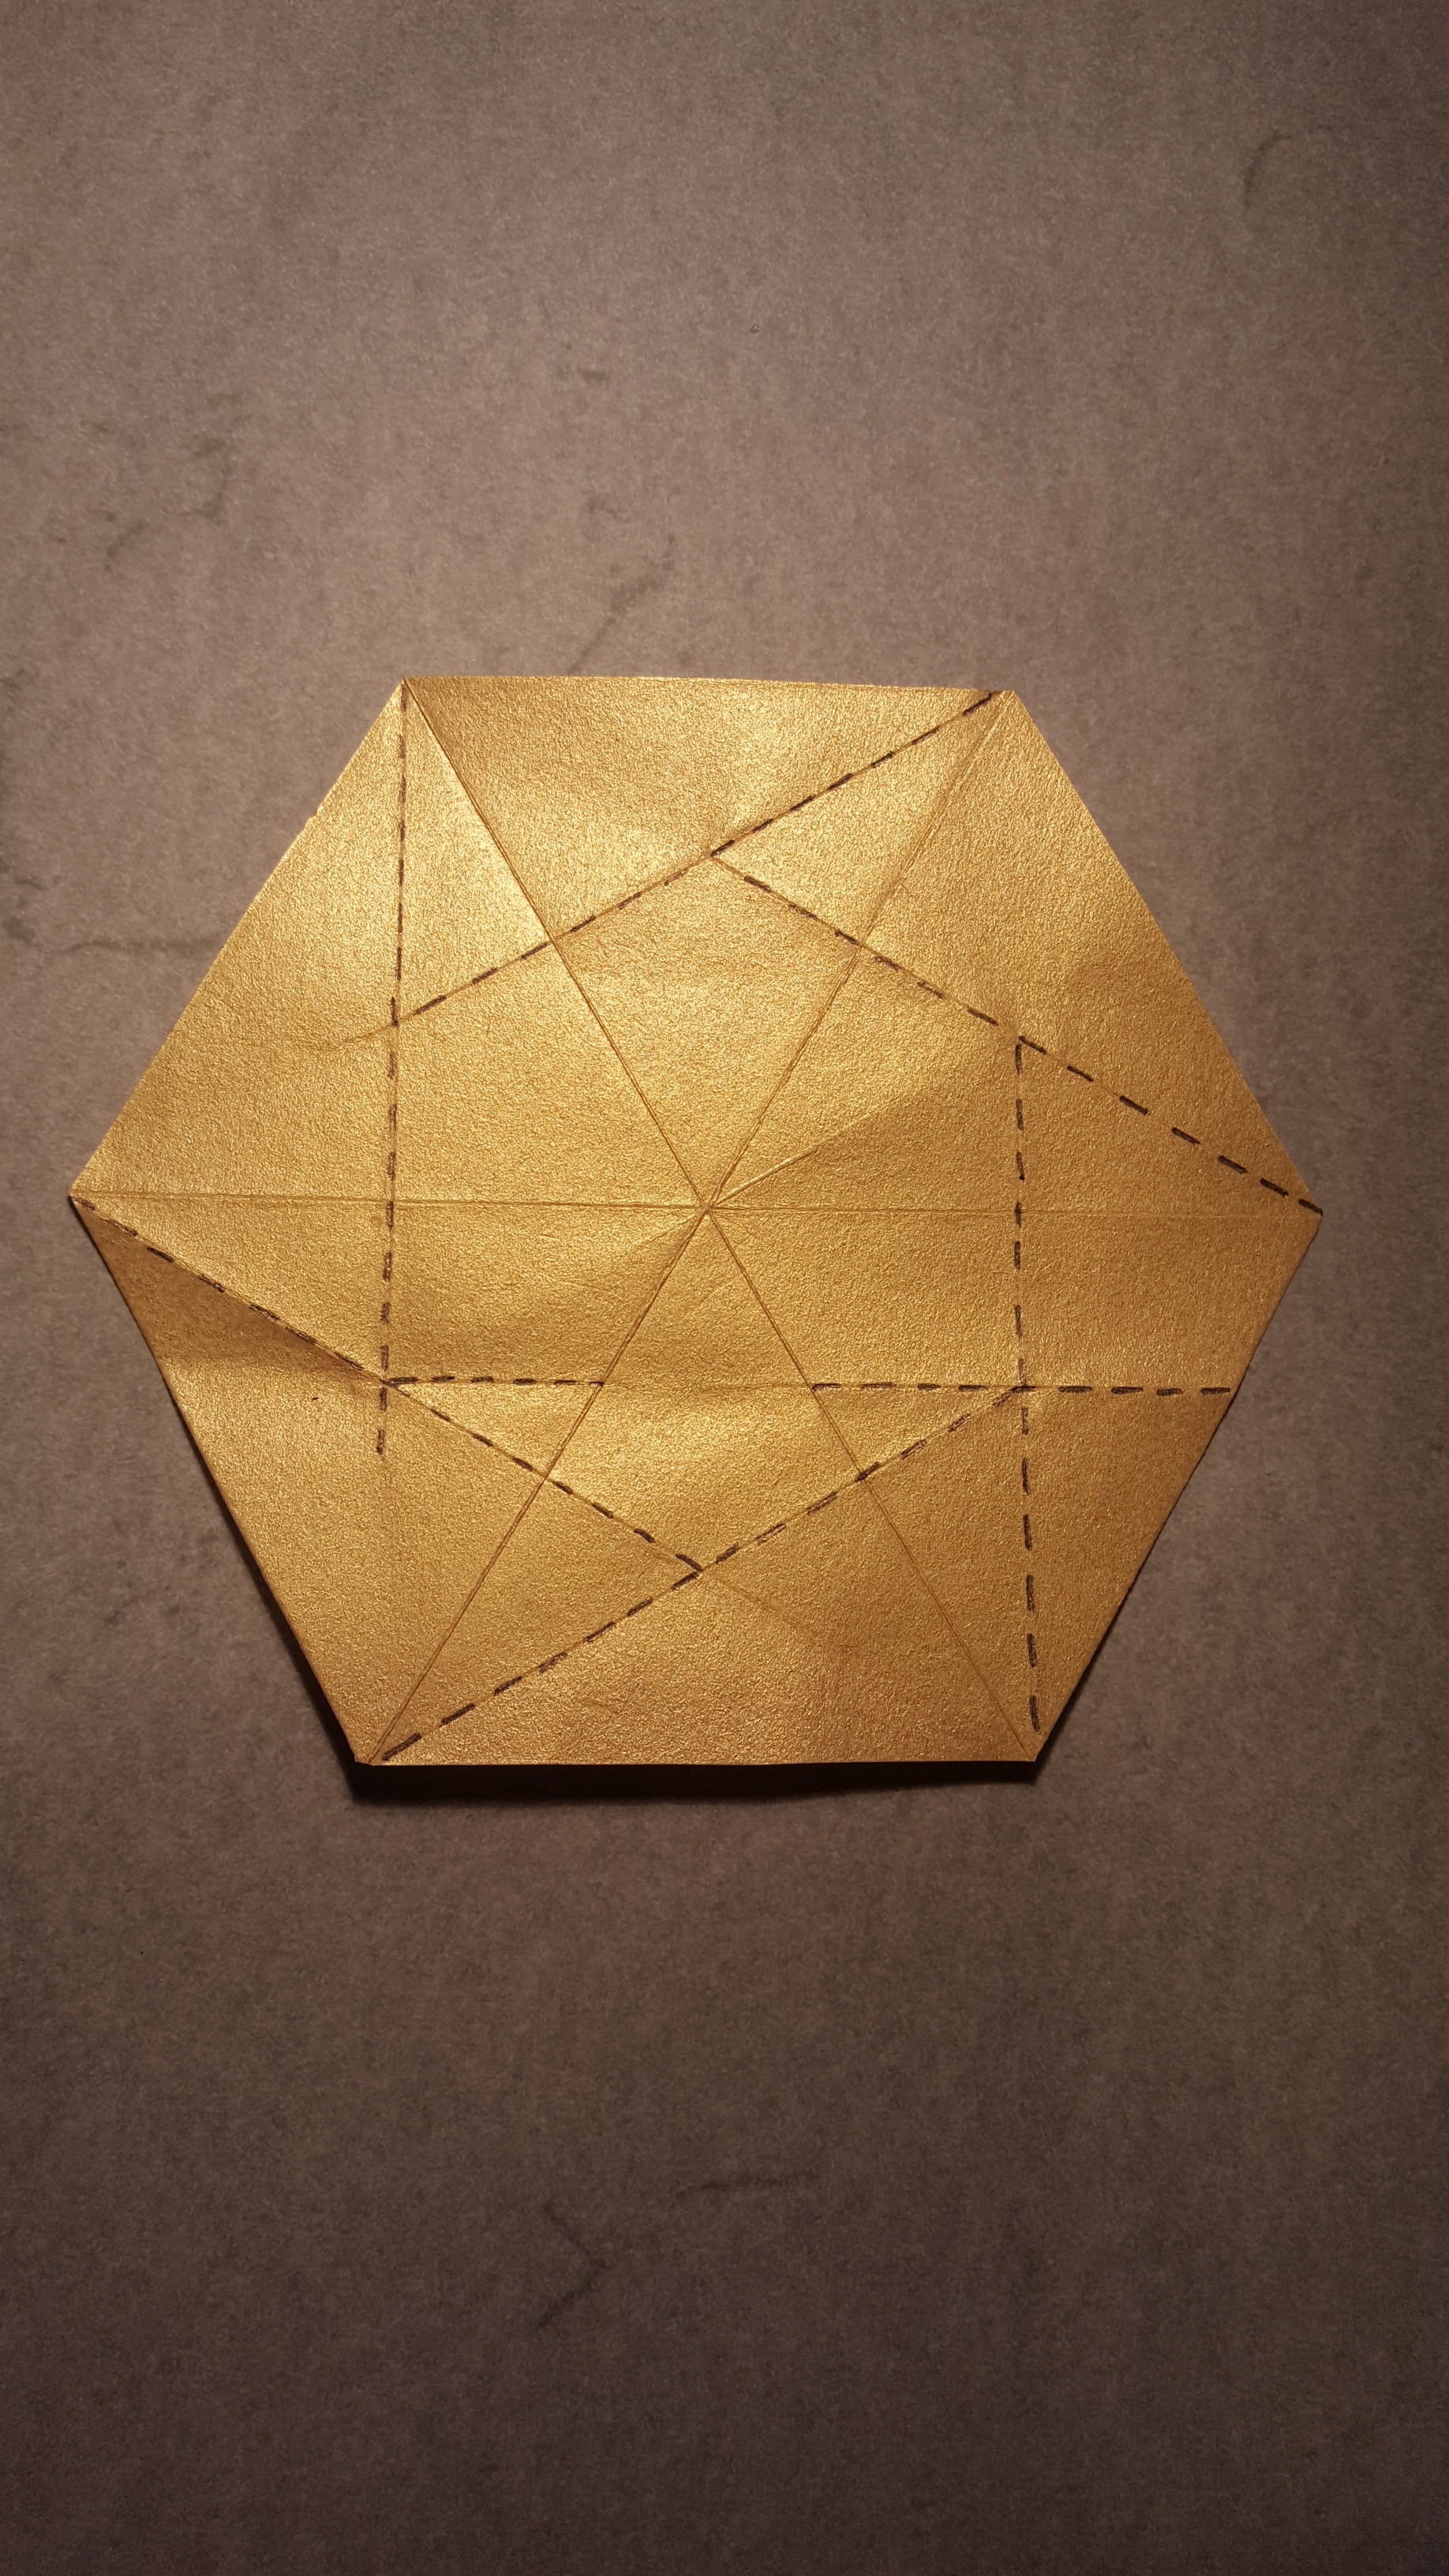
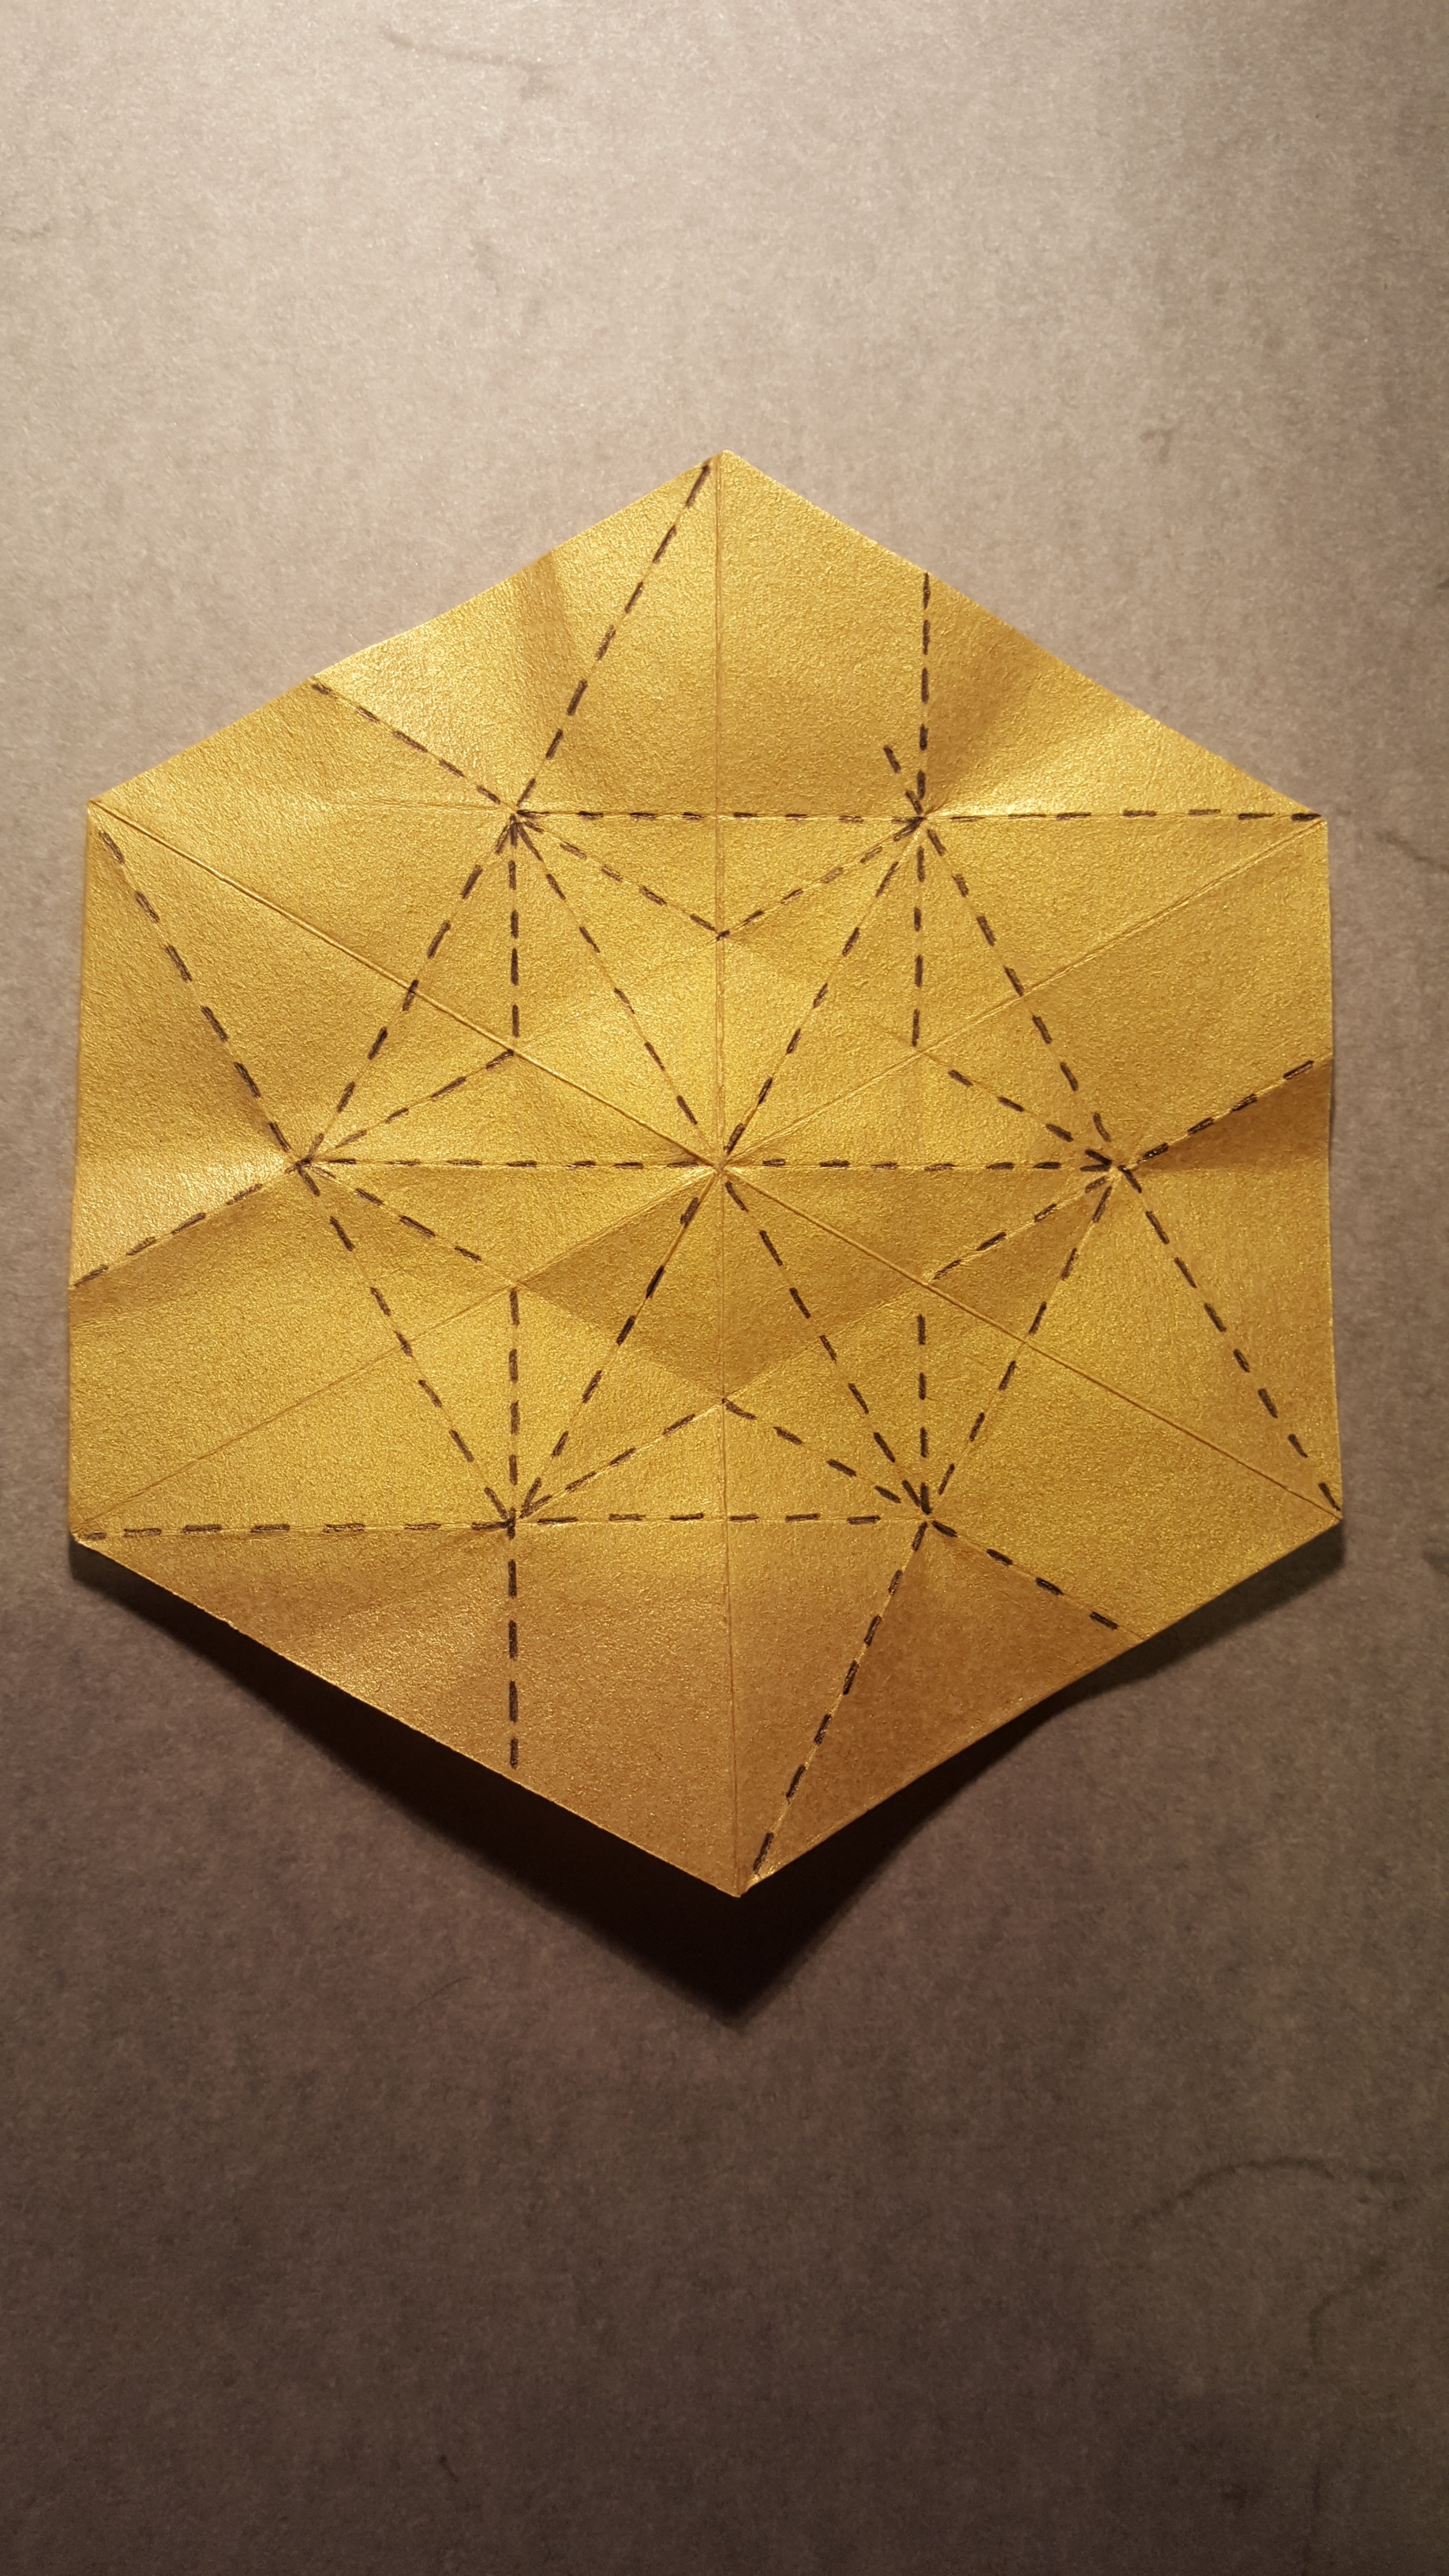
Start with a hexagon of paper with the diagonals creased. The creases shown here are all performed on one side of the paper, but then some will be reversed.

Step 5
Next fold the edge so that both corners meet the intersection of previous folds. This crease is divided into 5 equal sections by lines meeting it. If they are labelled 1-5 from the left then we are creasing on sections 2, 4 and 5.

Step 9
The paper will now look like this.

Step 13
Repeat step 11 five more times. Now the star is ready to collapse.
Step 17
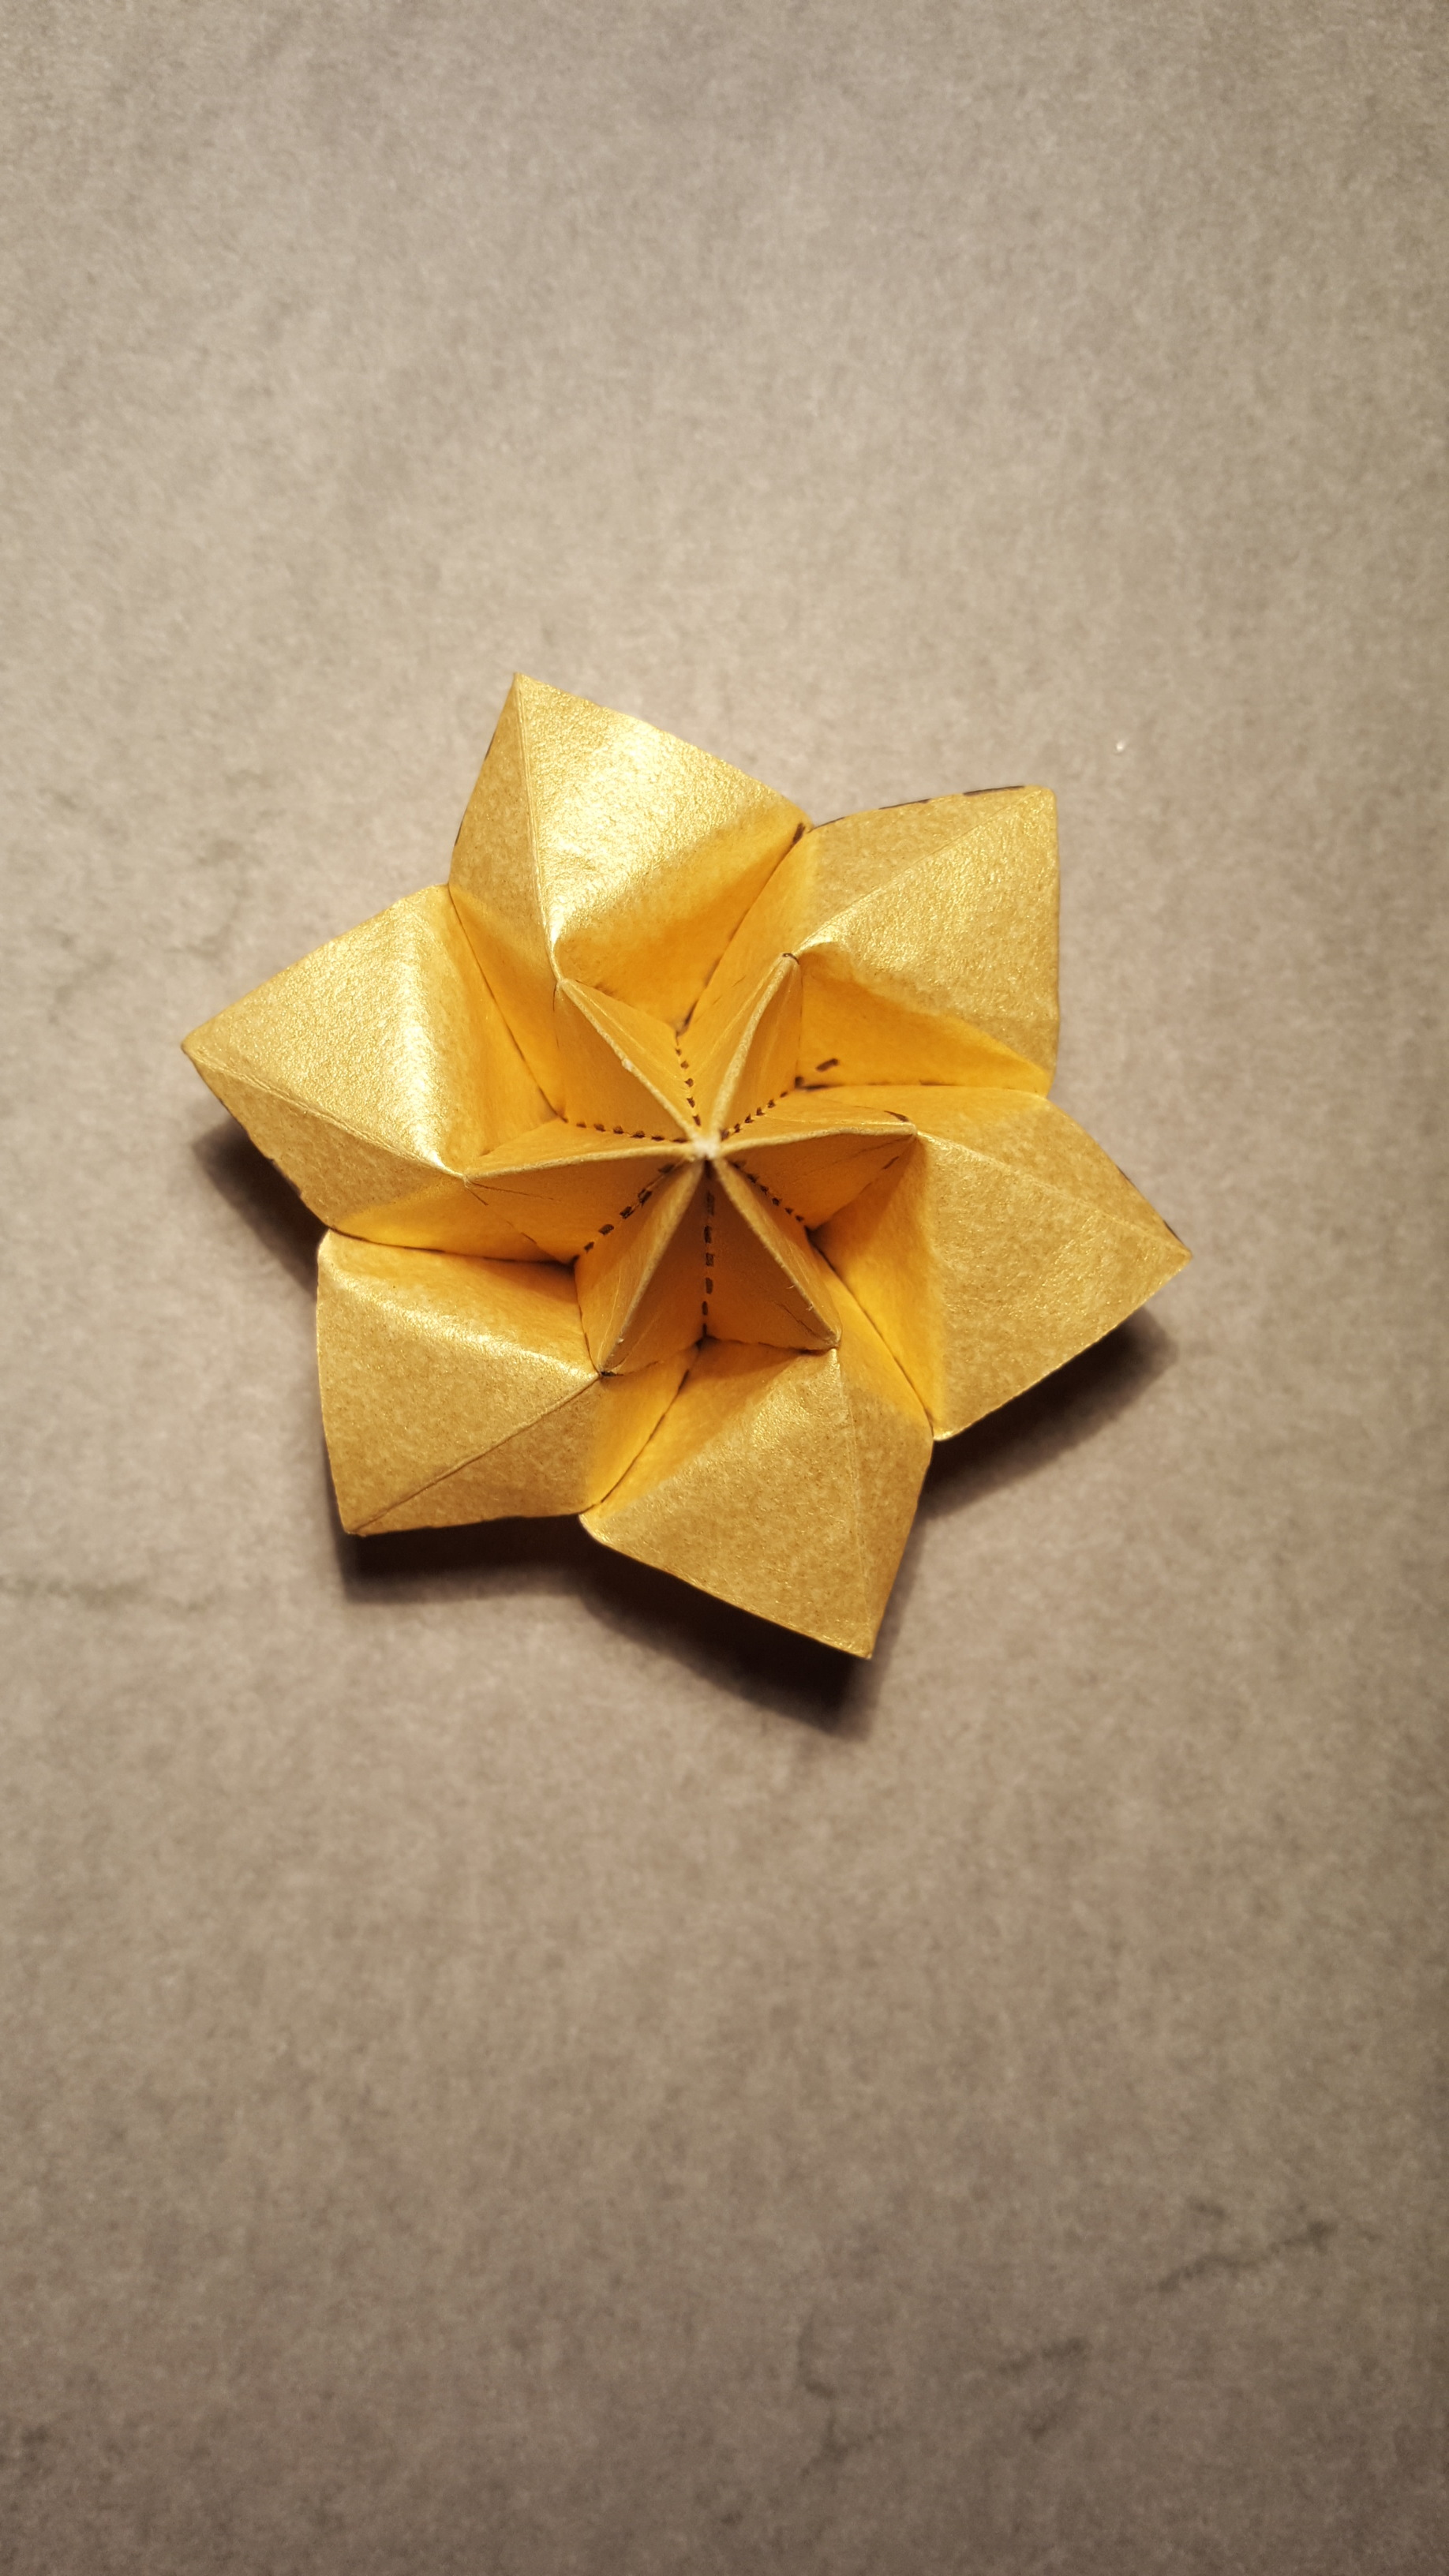
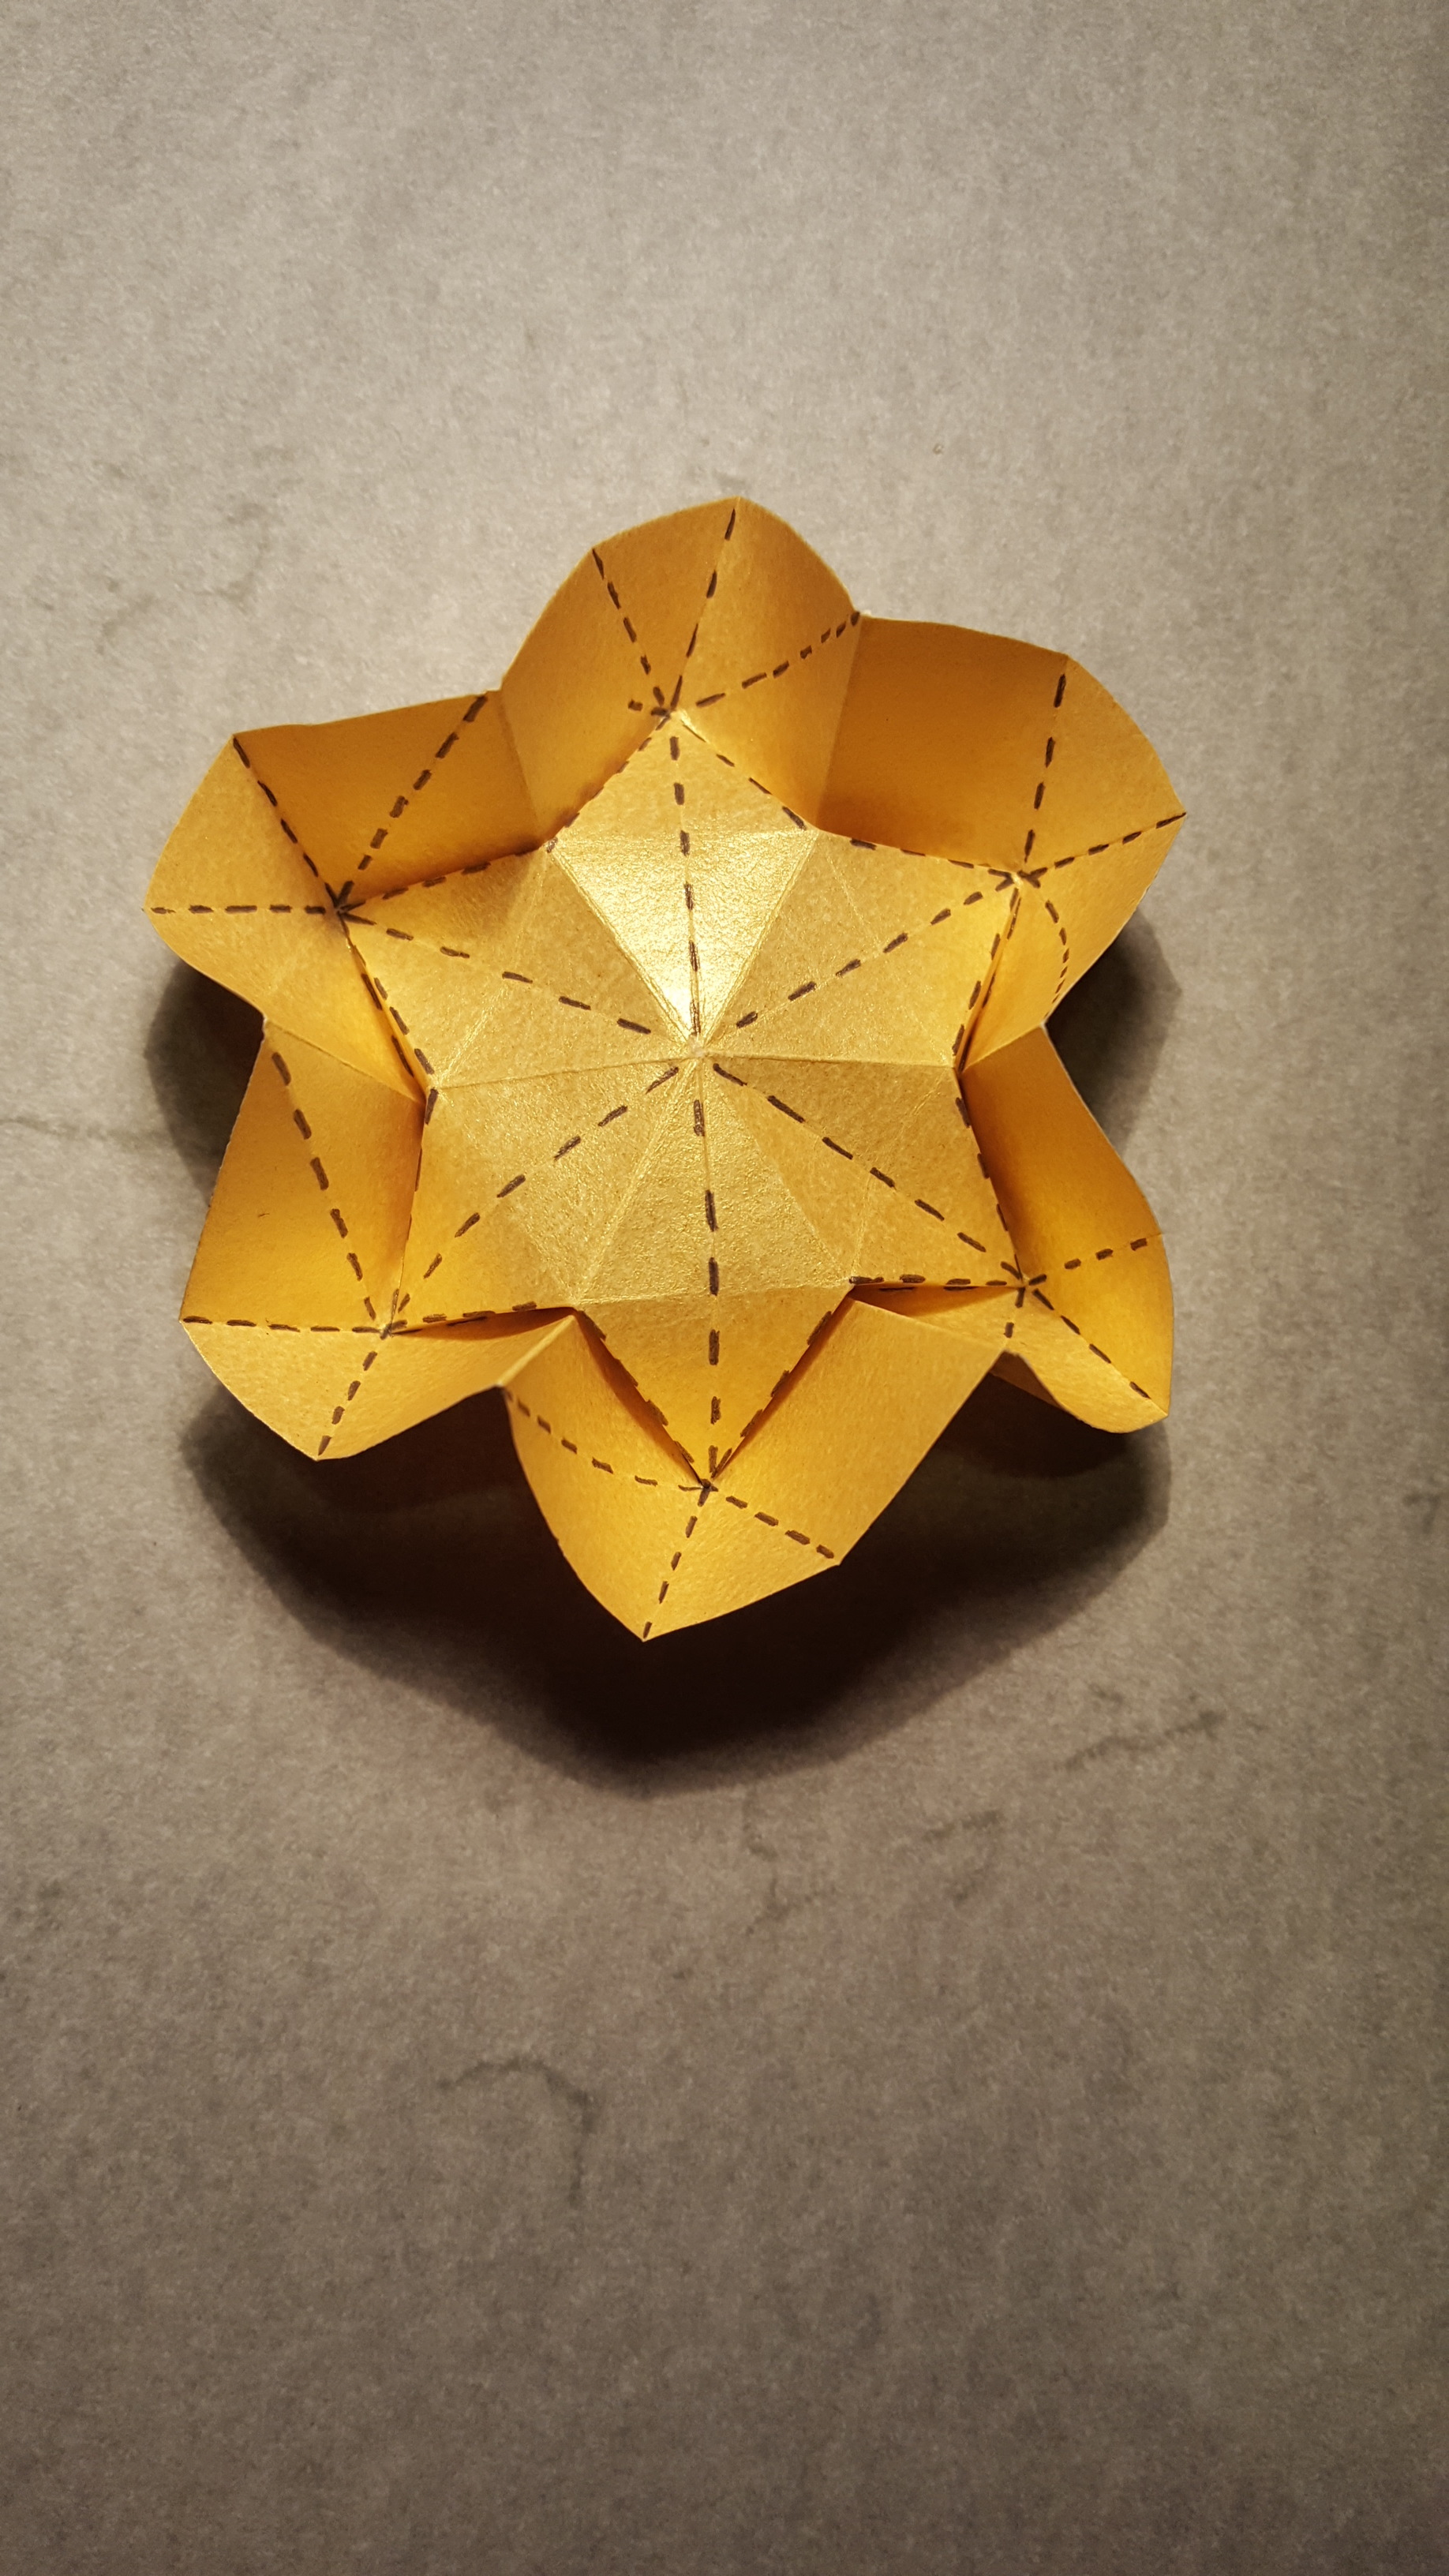
It will look like this.
Step 21
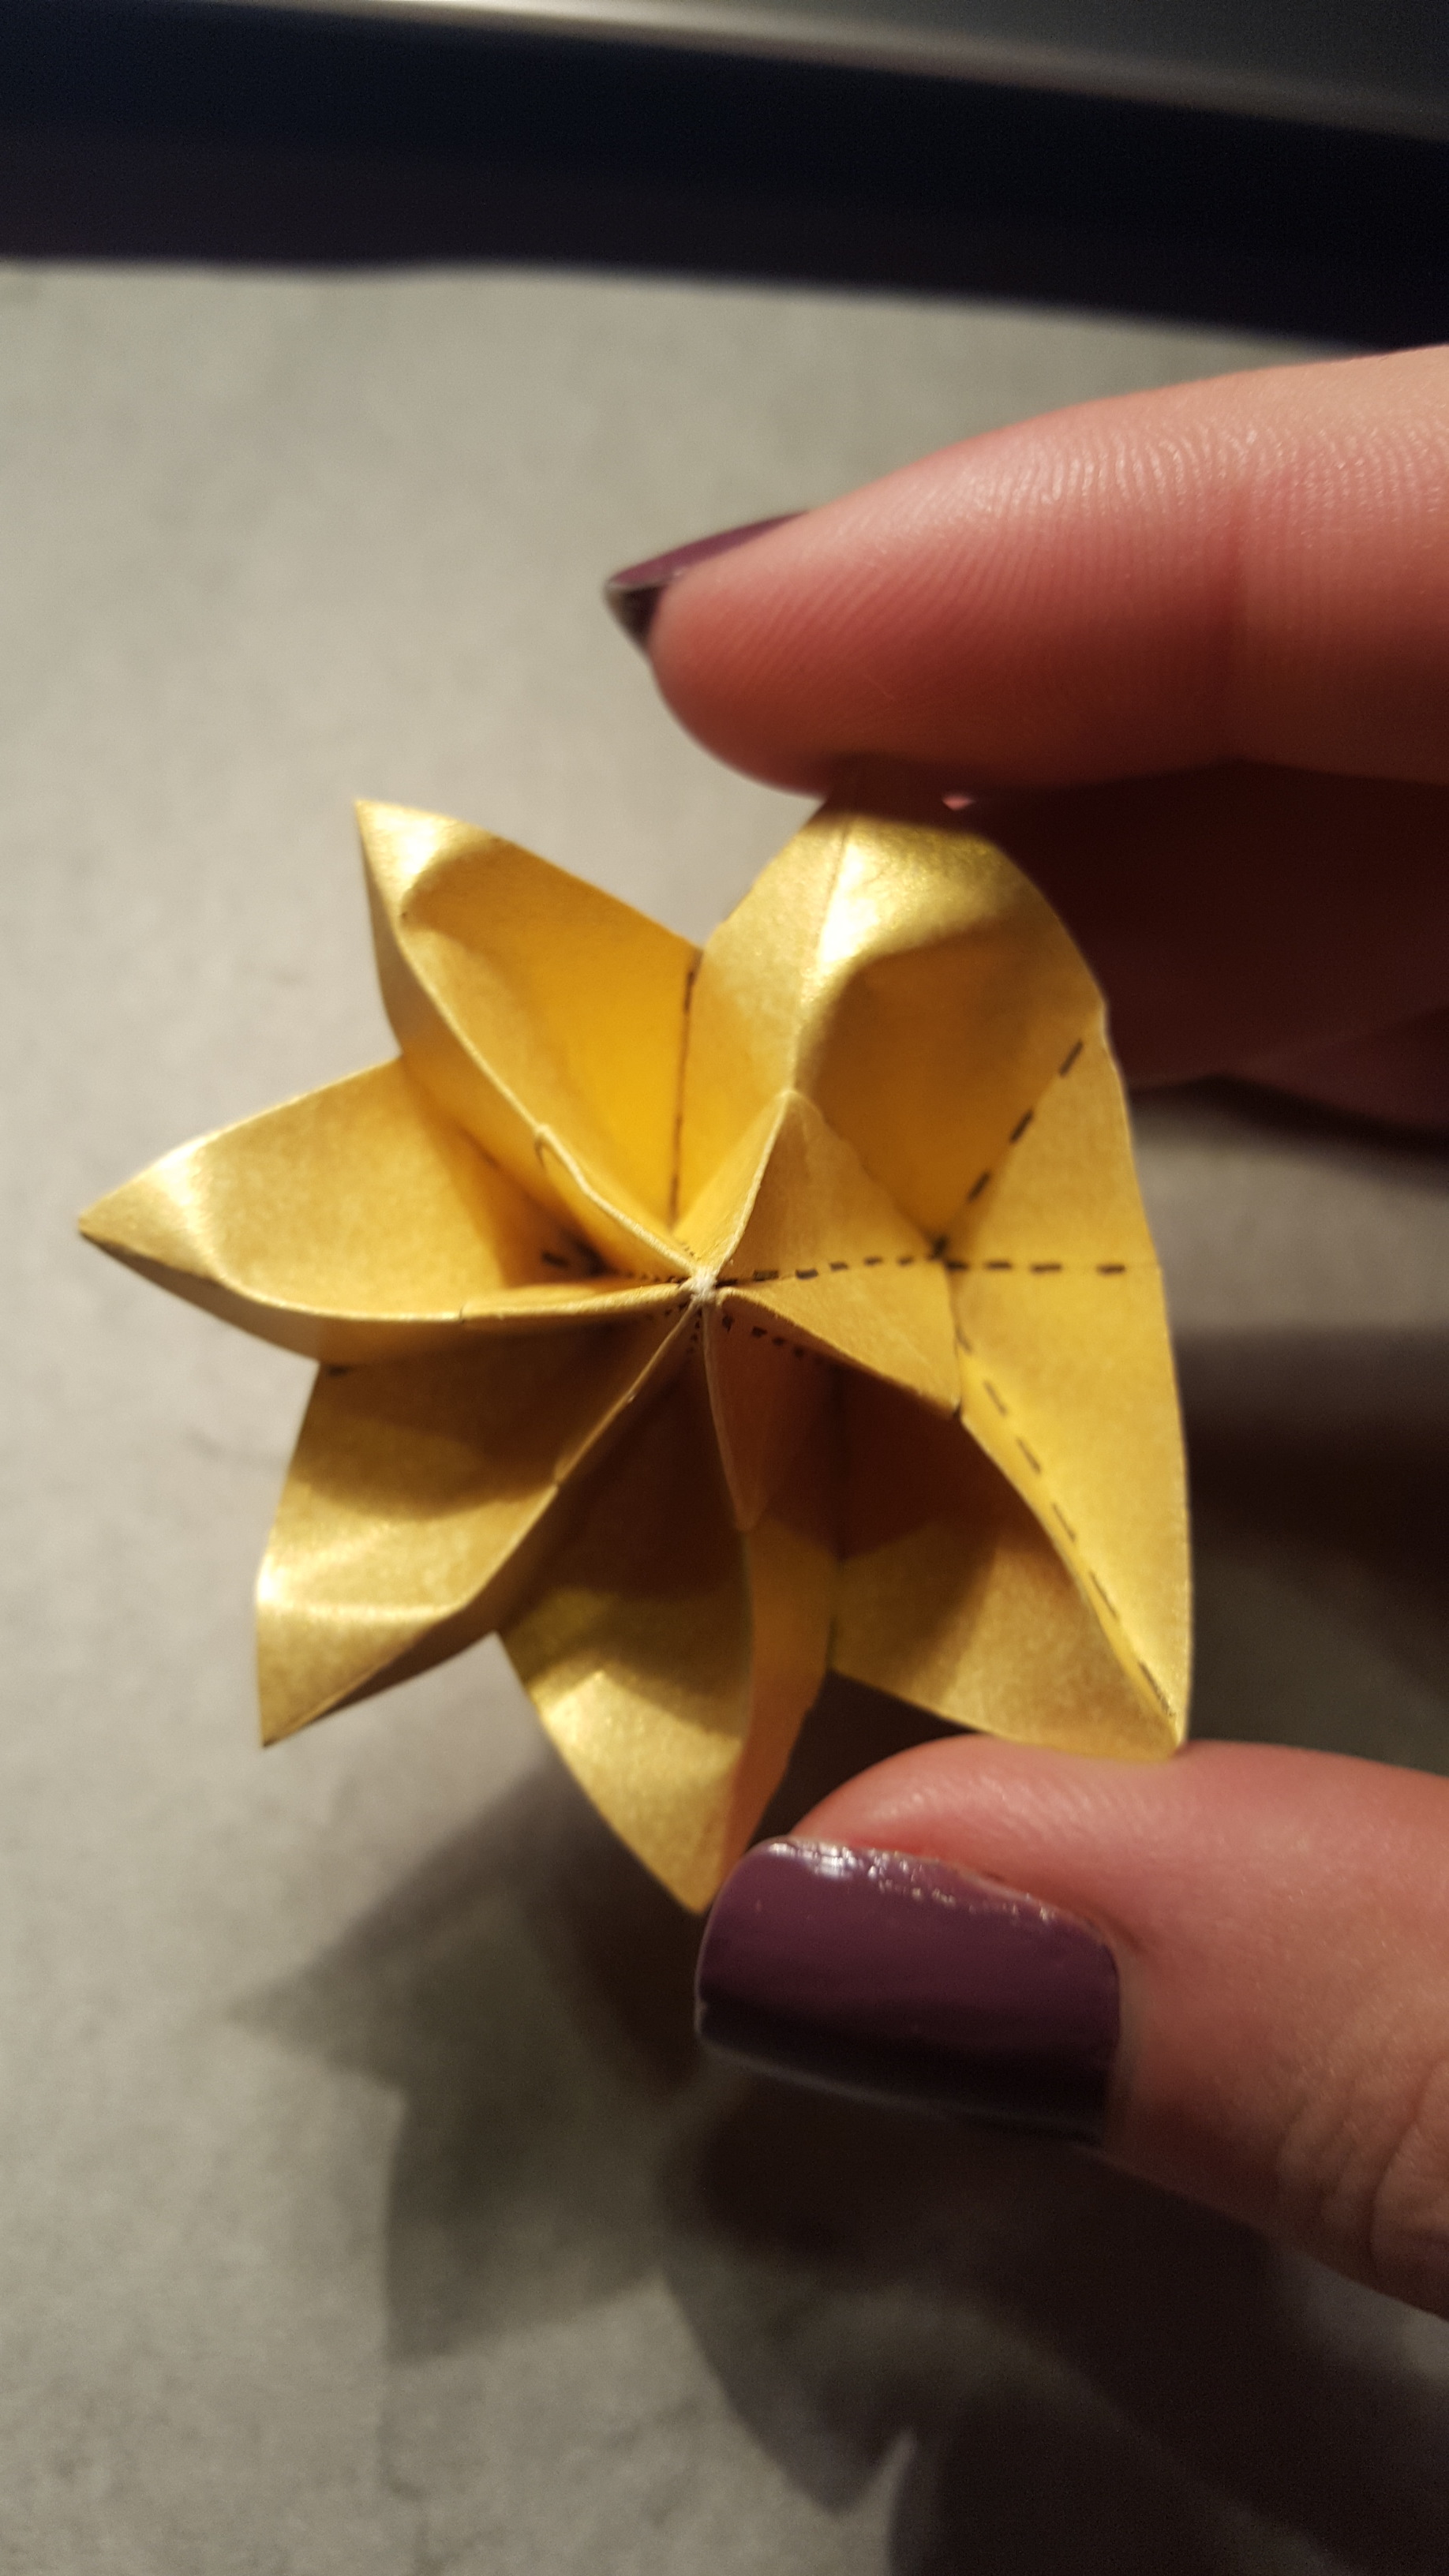
You can tuck the last flap inside and bloom the last mountain to finish the model.

Step 2
Bring the corner to the centre and crease from the left hand side approximately 2/3 of the way across.
Step 6
Hopefully this makes it clear which parts need to be folded.
Step 10
Repeat step 8 on the remaining two pairs of corners.

Step 14
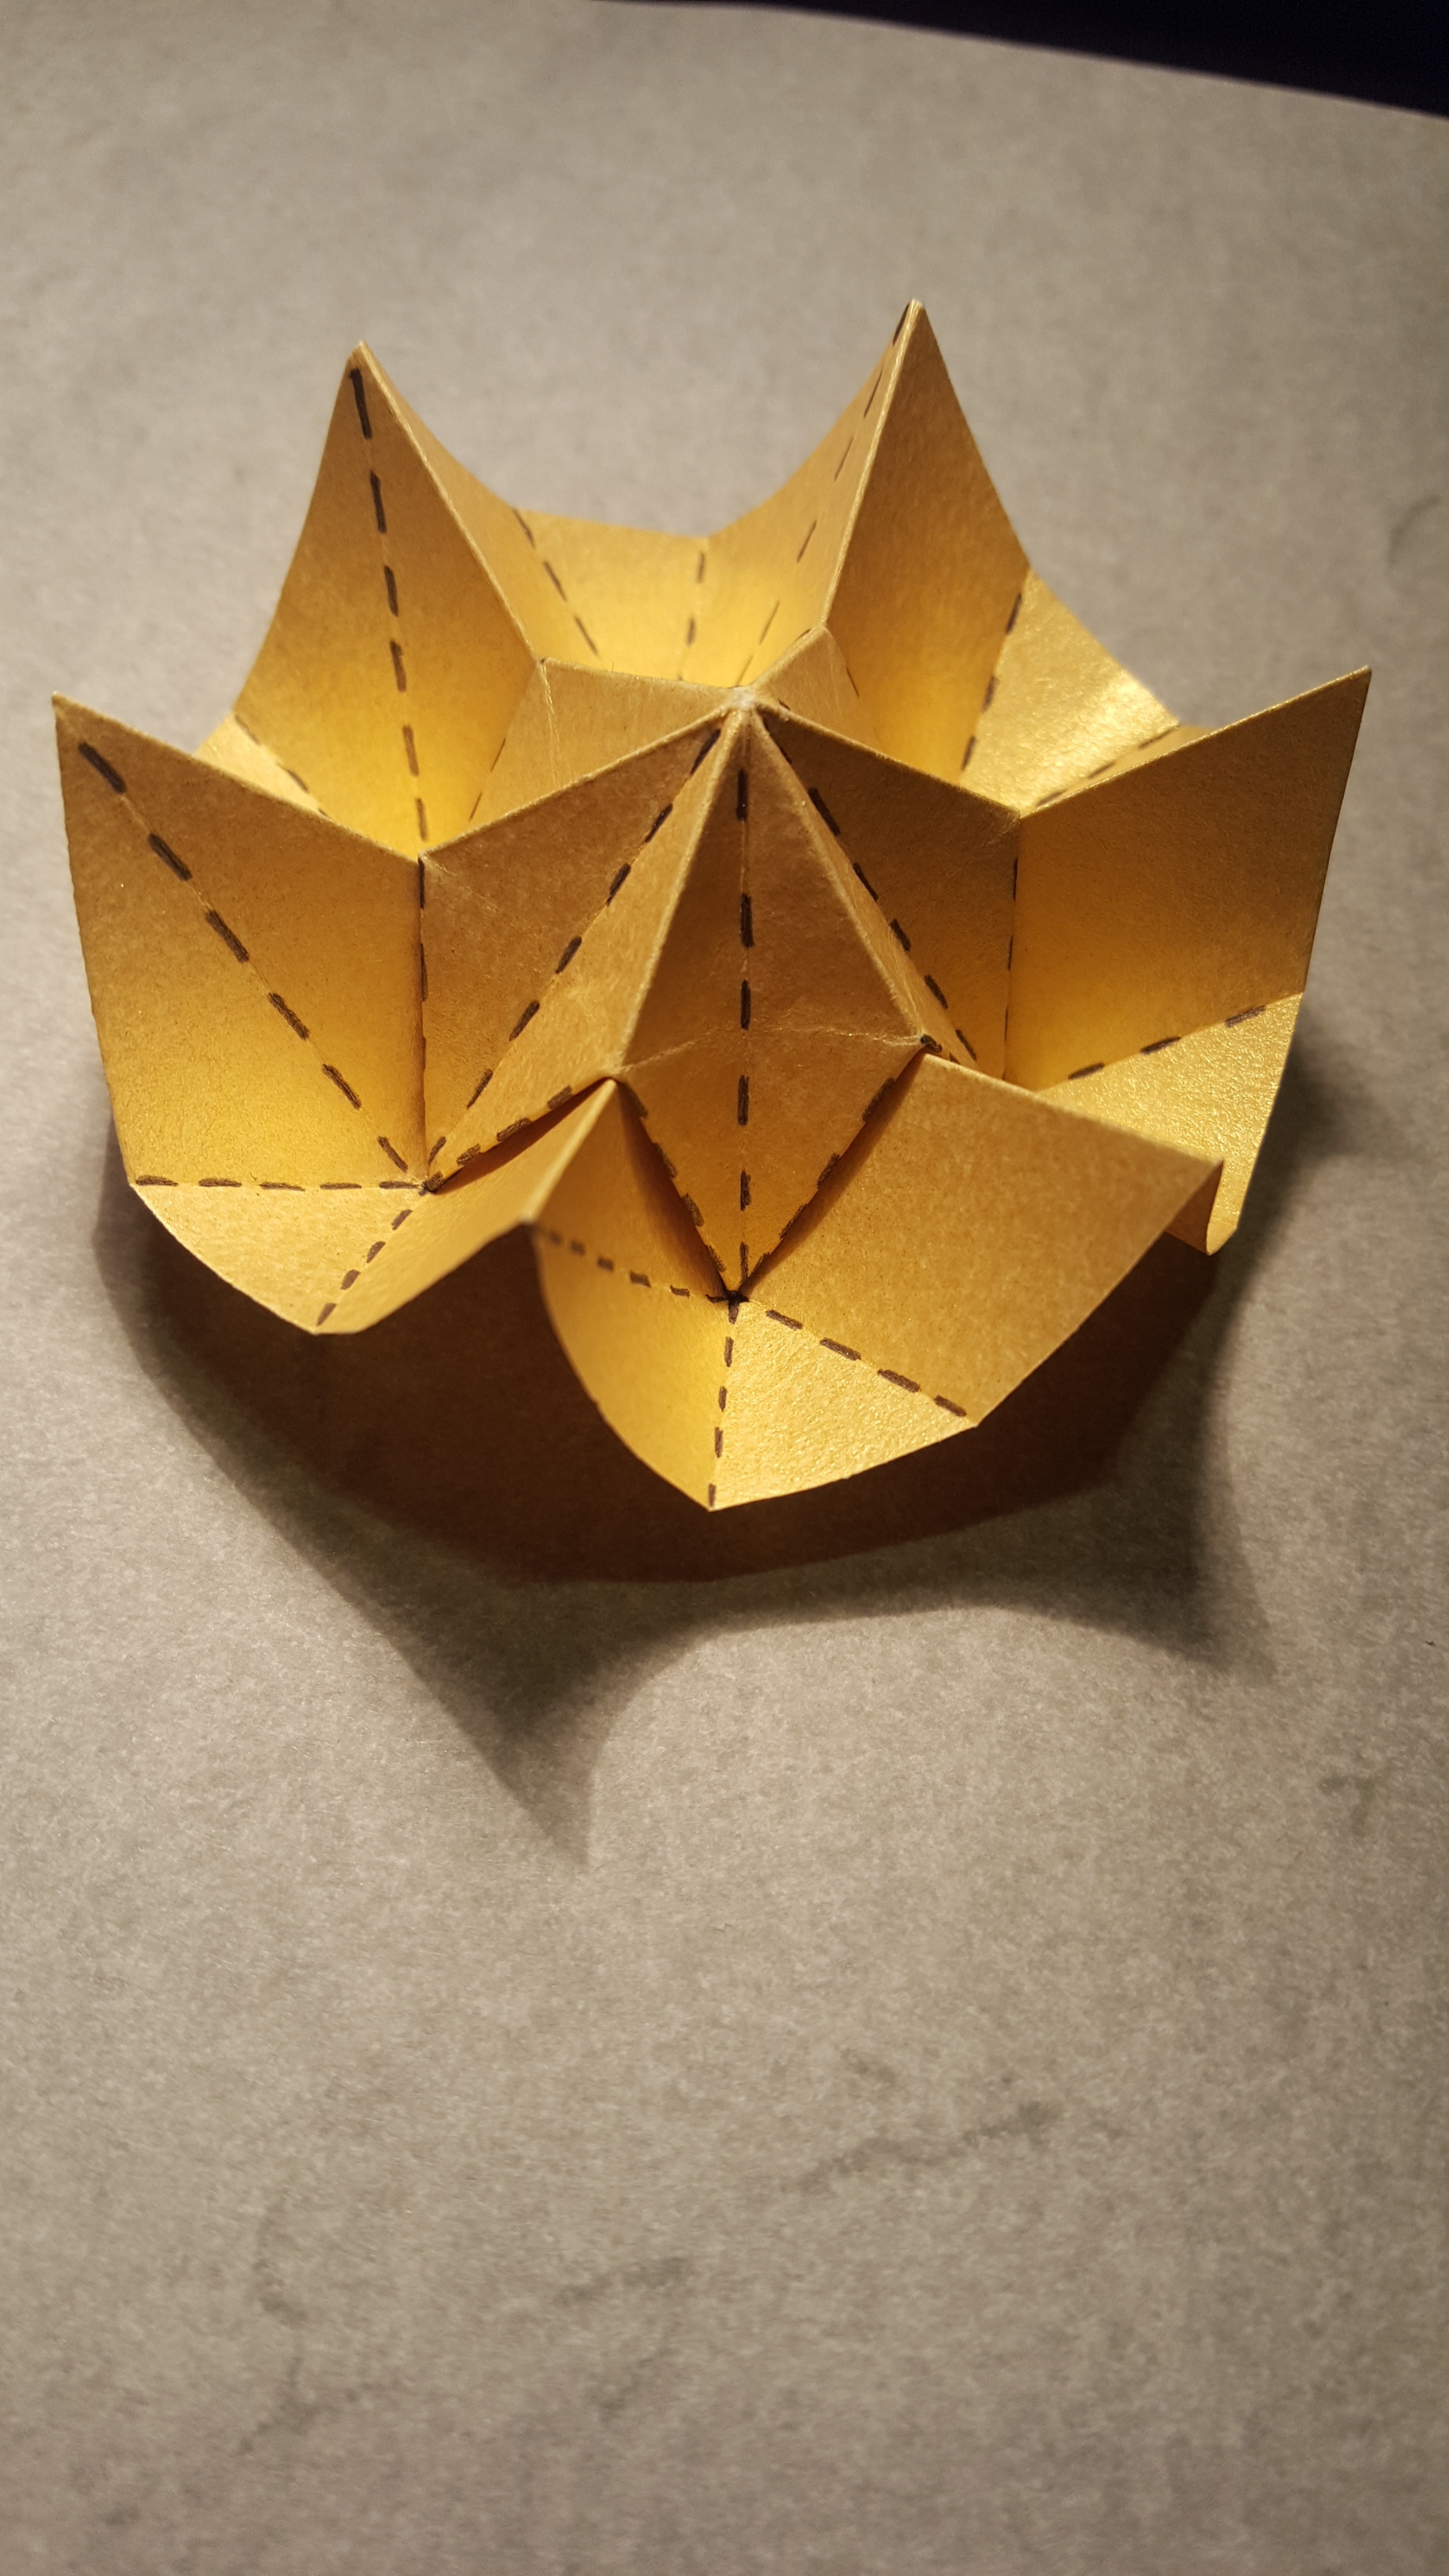
Reverse the folds which make up the central star to form mountains.

Step 18
Next refold one of the folds of step 11 and fold the double layer of paper to the left, into a mountain.
![20170411_235119[1].jpg](https://images.squarespace-cdn.com/content/v1/58da2f1dbf629a8f32a0a434/1491915915654-DZL7Y1E6PUNE7ATRGZ9G/20170411_235119%5B1%5D.jpg)
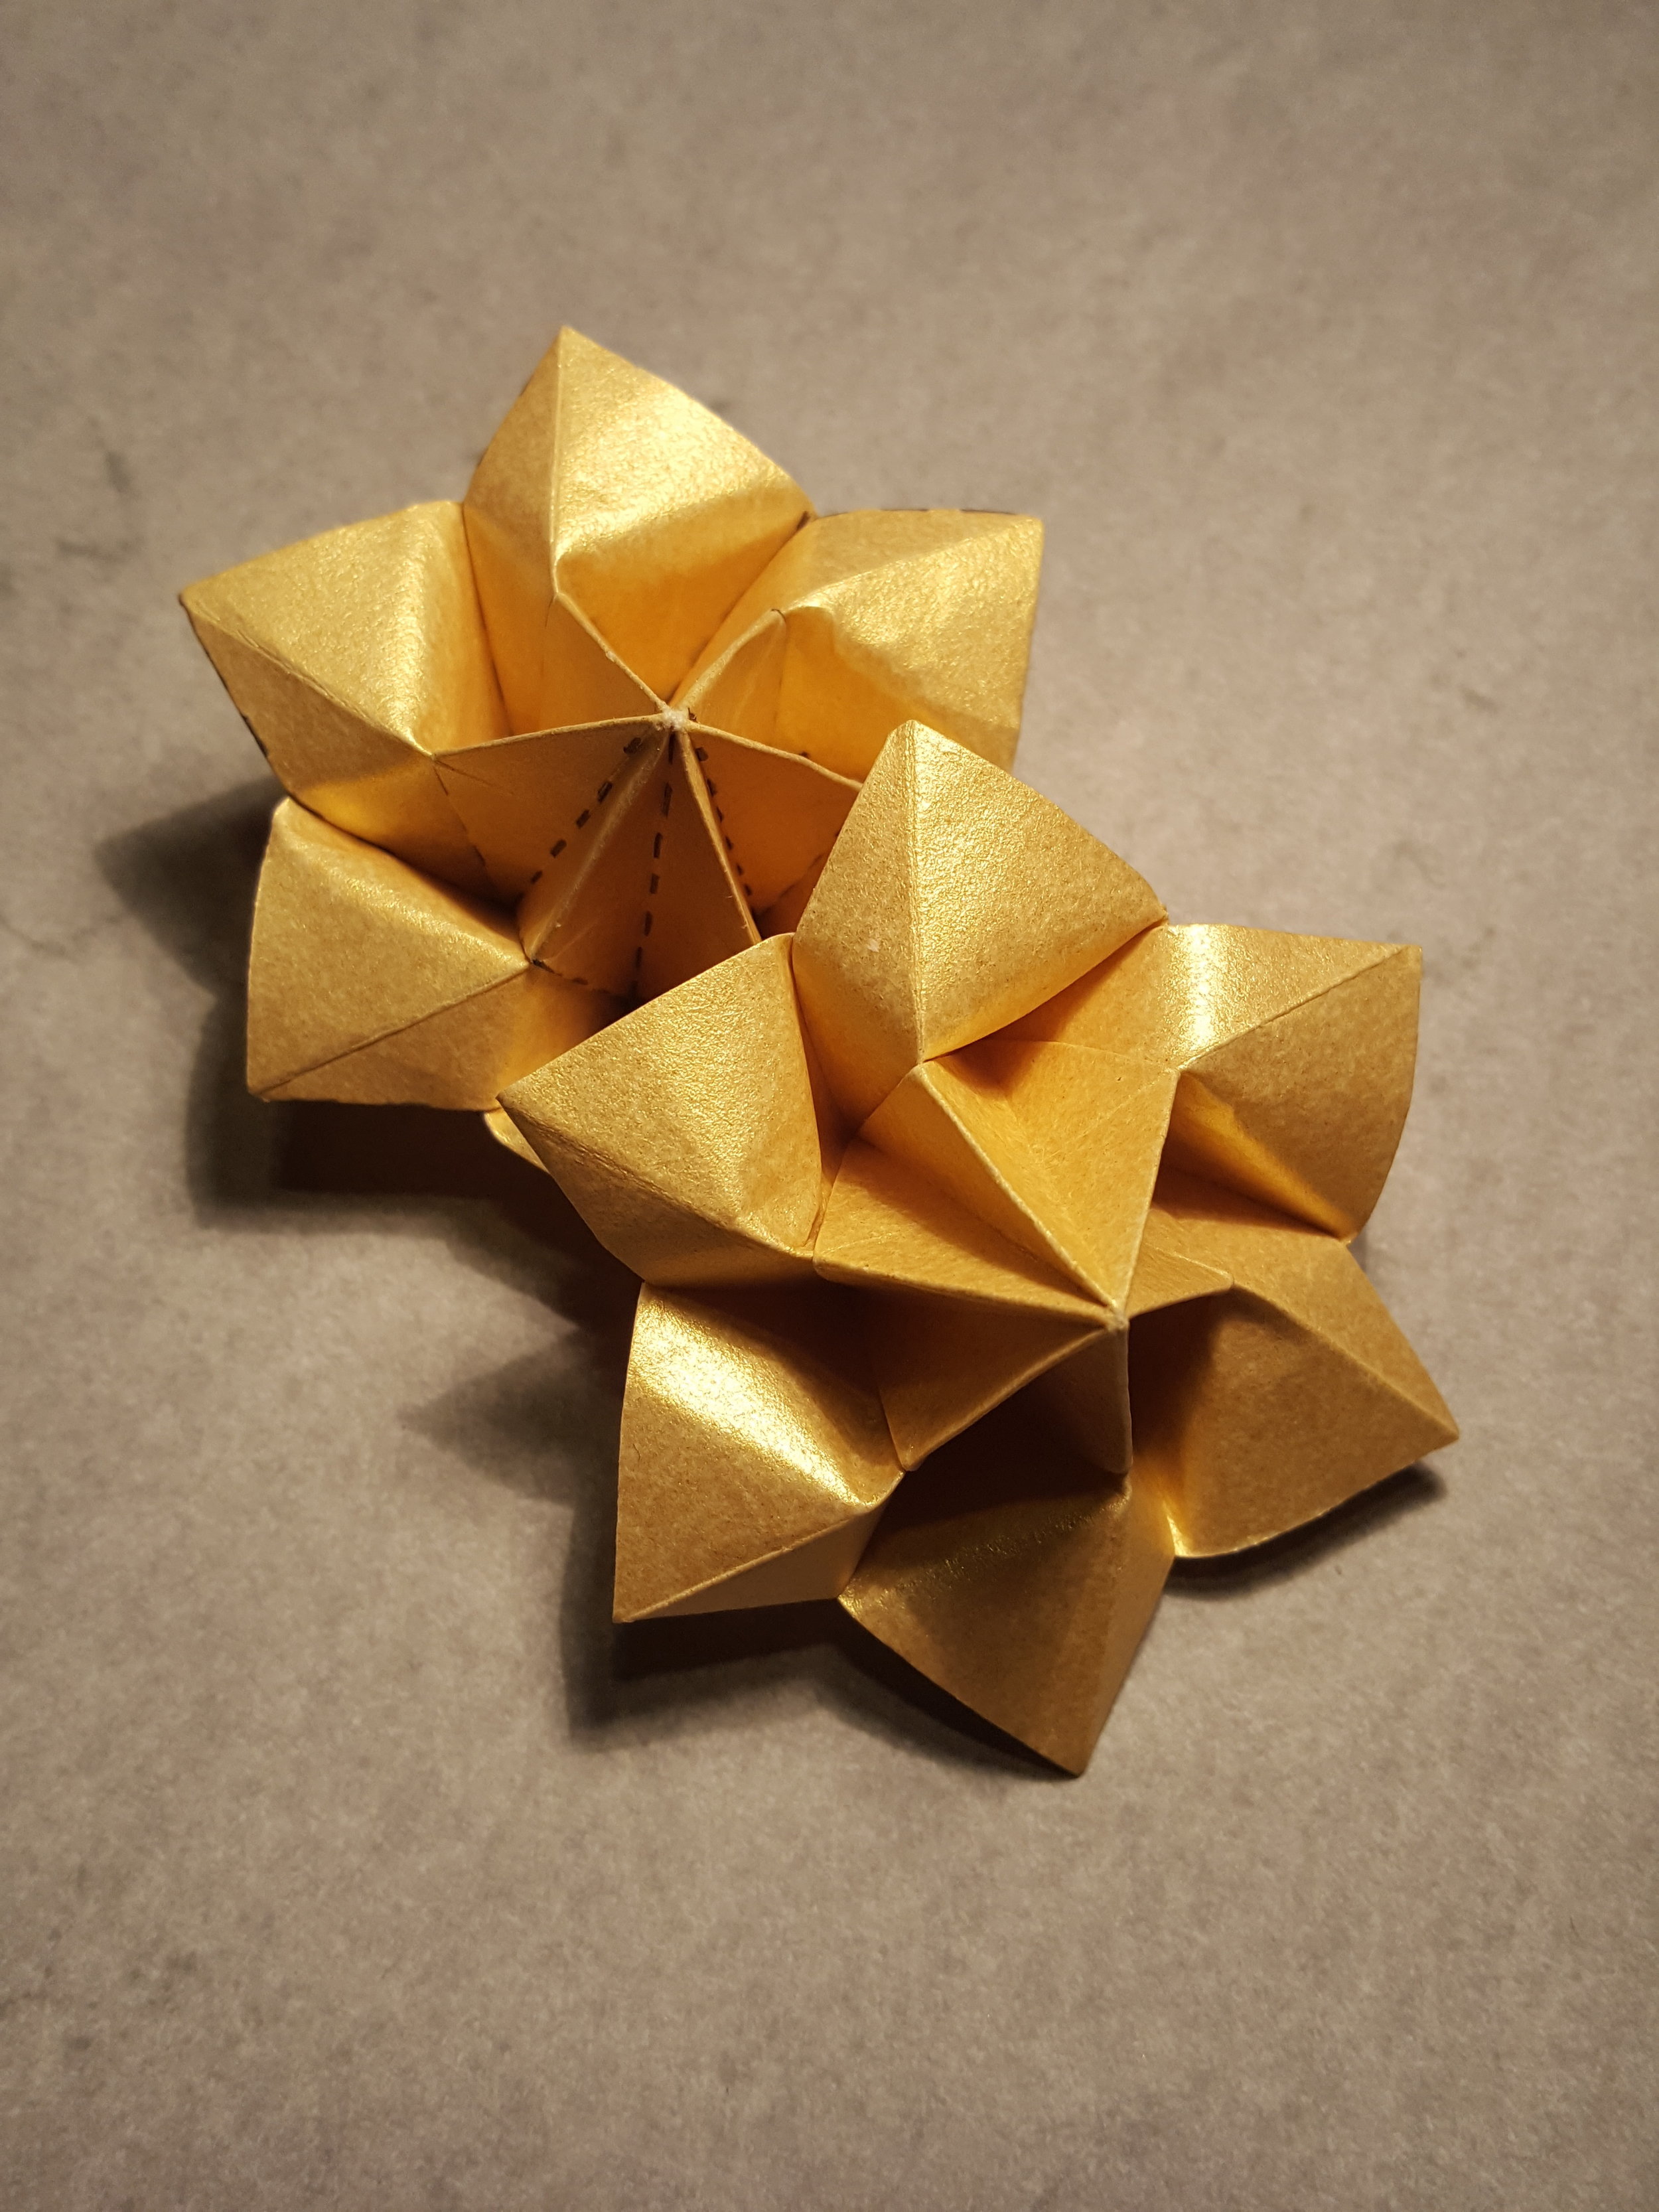
Two finished Starblossoms

Step 3
Unfold and the crease should look like this.

Step 7
Repeat step 5 on the remaining five edges of the paper.

Step 11
Fold so the creases shown lie on top of one another.
Step 15
Reinforce the valleys just outside the star and make mountains to the corner. Make these one at a time.
Step 19
Continue around the model (this is probably the hardest part). The last one may be too difficult to get in at the same time.

The other side of the starblossoms.

Step 4
Turn the paper anticlockwise and repeat until all 6 corners have been done. The 2/3 length will be defined by the previous fold.

Step 8
Fold one corner to the opposite corner and crease the middle 2/3 of the paper.

Step 12
Unfold. This middle fold was created.
Step 16
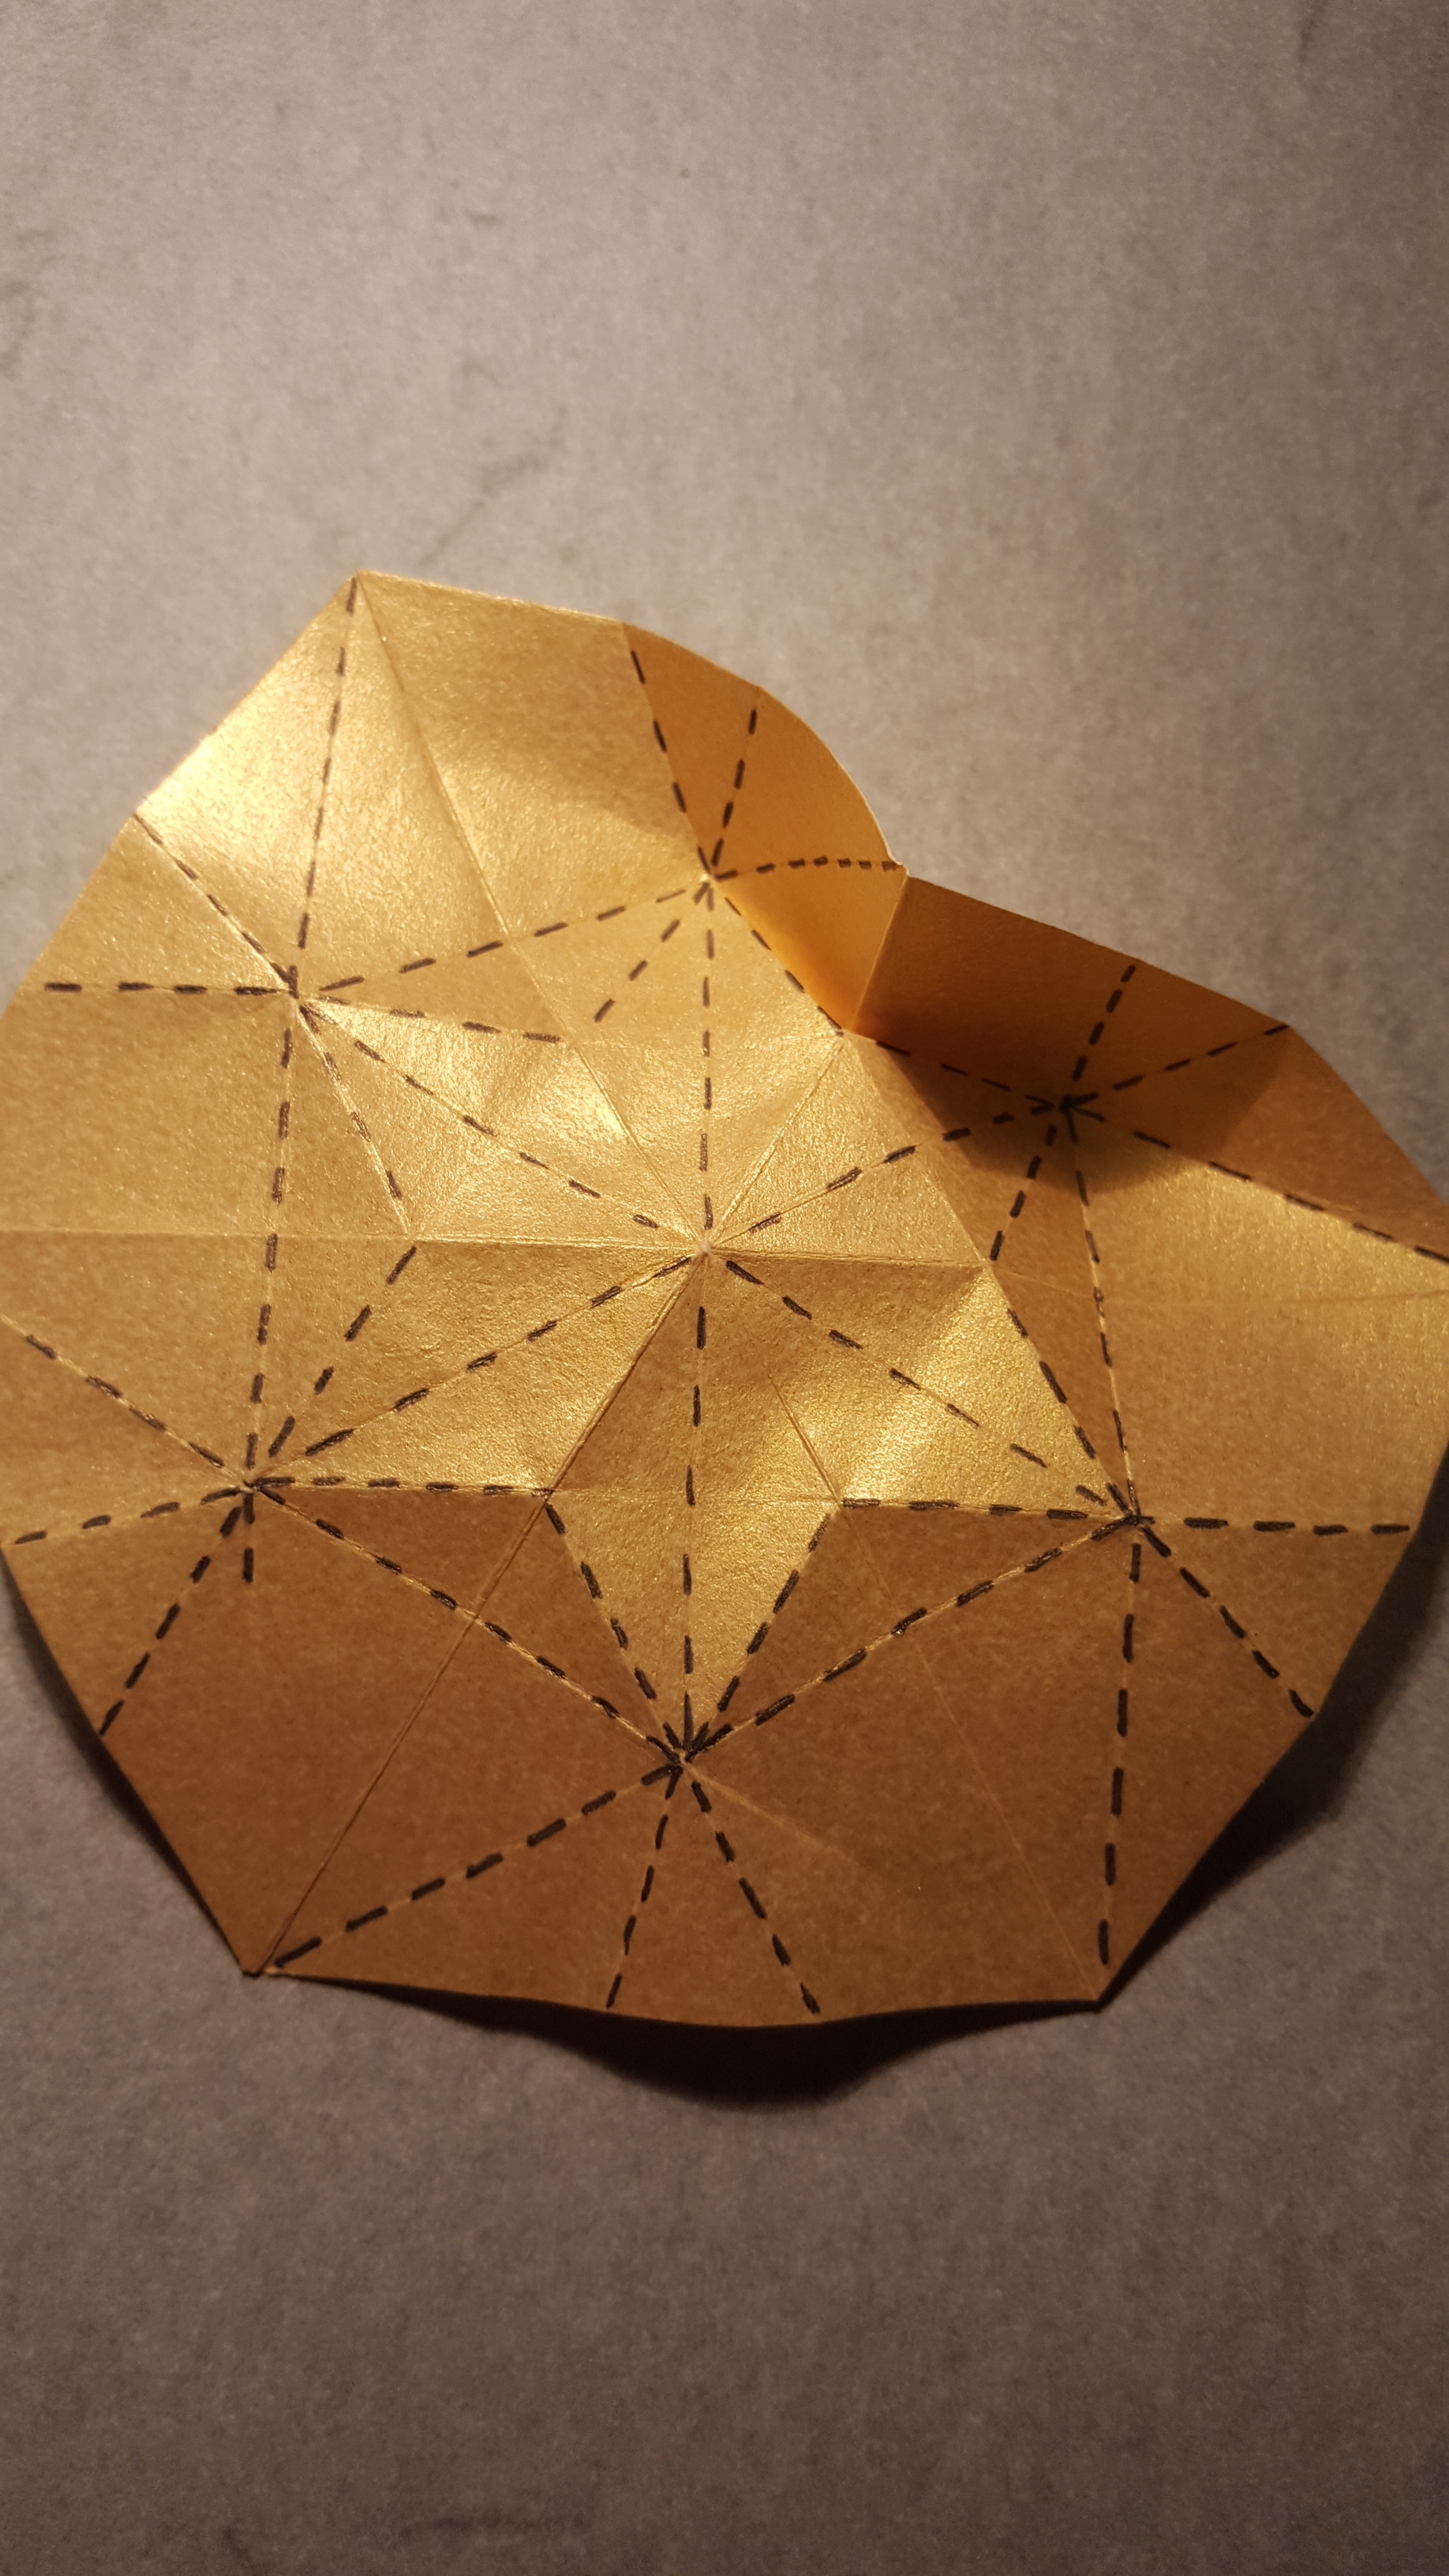
Once all 6 are done the model looks like this. Next make the dashed lines through the centre valleys so the tips become flatter.

Step 20
Stick your finger underneath to gently flatten the edge of the mountains which are done which will allow them to spread more evenly around the centre.